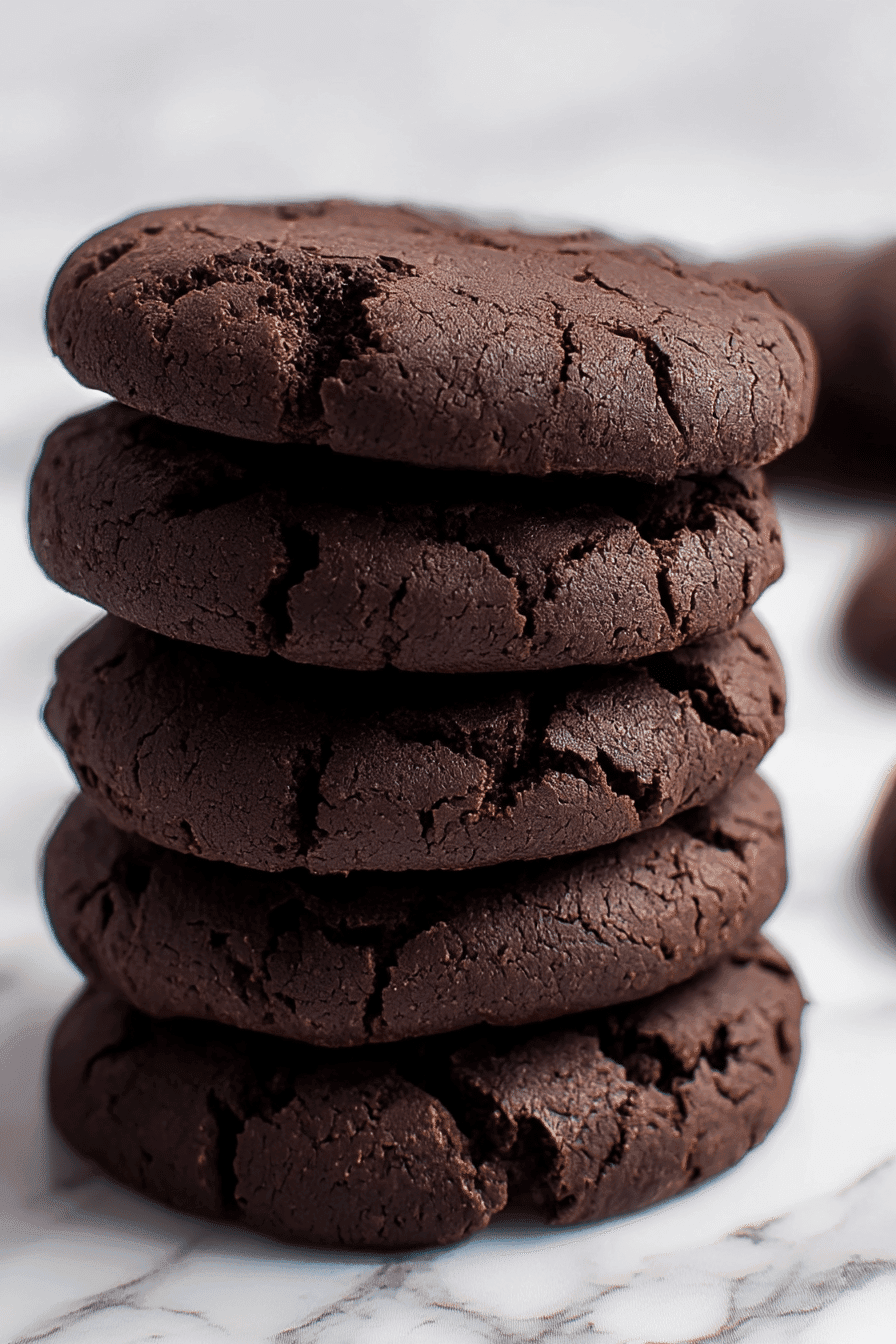
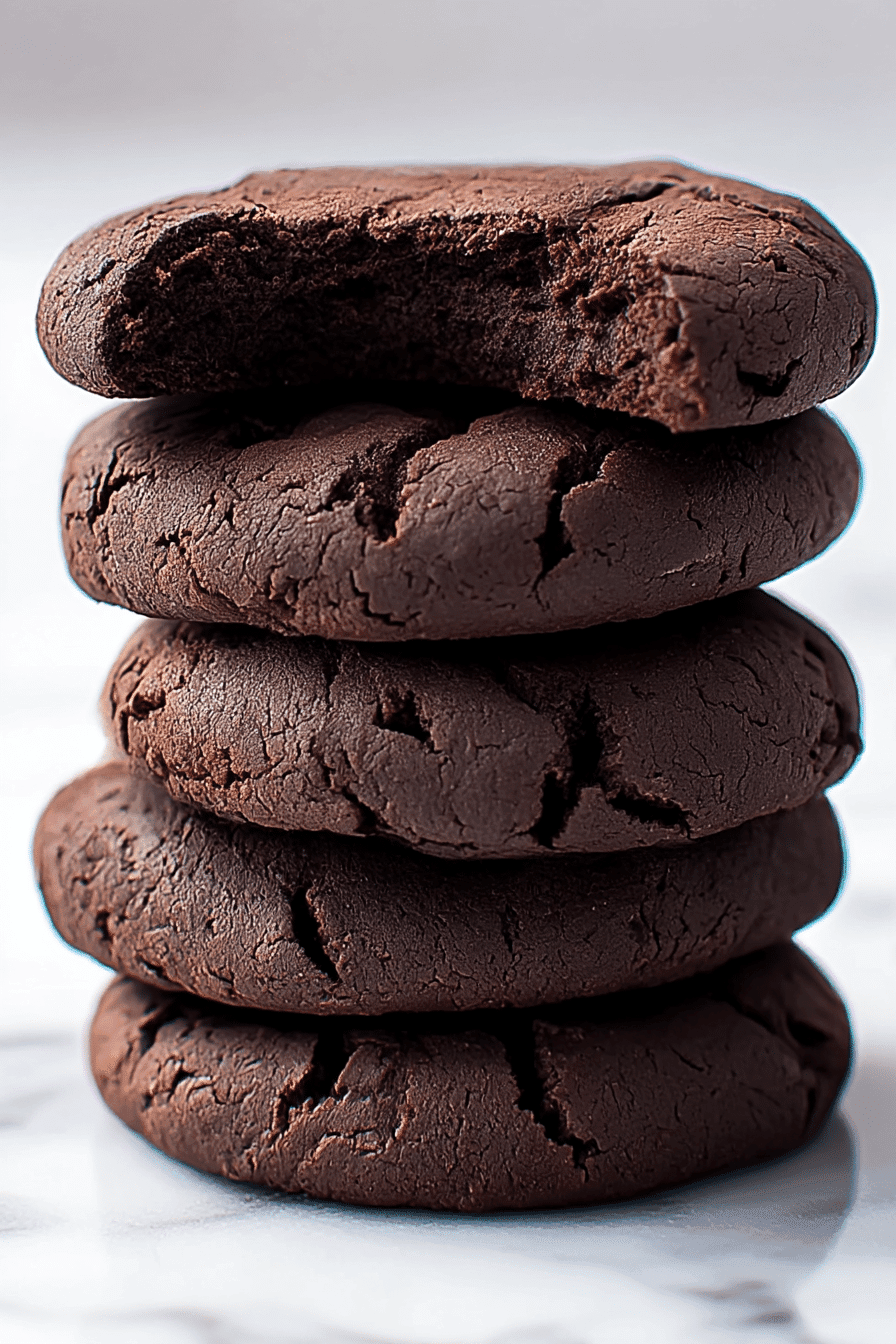
Ever had one of those moments when your sweet tooth hits, but the thought of preheating an oven makes you want to crawl under a blanket? Last week, I found myself craving something chocolatey after a particularly long day, and that’s when I remembered why mom’s quick cocoa no bake cookies became our family’s go-to comfort treat.
While I’ve covered all the traditional favorites in my Classic No Bake Cookie Recipes guide, this particular version holds a special place in my heart because of how incredibly fast and foolproof it is. These aren’t your typical no-bake cookies that take forever to set or require a dozen ingredients. We’re talking about rich, fudgy cocoa goodness that comes together faster than you can say “chocolate craving.” And the best part? You probably have everything you need sitting in your pantry right now.
I’ve been perfecting this recipe for years, and it’s become my secret weapon for everything from after-school snacks to emergency desserts when unexpected guests drop by. Between you and me, these quick cocoa cookies have saved more weeknight dinners than I care to admit – especially when other no-bake recipes felt like too much effort for a Wednesday evening.
The magic happens in just fifteen minutes, but the memories? Those last way longer.

Table of Contents
Quick Cocoa No Bake Cookies – The Real Story Behind These Treats
Why Cocoa-Forward Cookies Changed Everything
My relationship with no-bake cookies started pretty typically – following mom around the kitchen, watching her make the standard peanut butter chocolate version everyone knows. But it wasn’t until I started experimenting with different cocoa ratios that I discovered what these cookies could really become.
Here’s what nobody tells you: most no-bake cookie recipes treat cocoa powder like a supporting actor. But when you make it the star? That’s when the real magic happens. The depth of chocolate flavor you get from quality cocoa powder rivals any fancy bakery cookie, and it develops this incredible richness that only gets better as the cookies set.
I remember the exact moment I figured this out. I was making a batch for my neighbor Karen, who’d mentioned she wasn’t a huge peanut butter fan. Instead of cutting back on peanut butter, I doubled down on the cocoa. The result was this intensely chocolatey cookie that had her asking for the recipe before she’d even finished her first bite.
What Makes Quick Cocoa Actually Work
The secret to successful quick cocoa no bake cookies isn’t just about speed – it’s about understanding how cocoa powder behaves when heated. Unlike melted chocolate, cocoa powder needs that hot sugar mixture to fully bloom and develop its flavor.
Temperature control becomes absolutely crucial here. Too low, and your cocoa stays dusty and flat. Too high, and you’ll scorch those delicate chocolate notes before they have a chance to develop. I’ve learned that gentle bubbling – not aggressive boiling – is your sweet spot.
And here’s something that took me way too long to figure out: the order you add ingredients matters more than you might think. Cocoa powder mixed with sugar first prevents lumps. Butter added gradually prevents seizing. It’s like a little chemistry experiment that happens to taste incredible.
Making Perfect Quick Cocoa No Bake Cookies – My Foolproof Method
The Cocoa Ingredients That Make the Difference
After years of testing different brands, I’ve got some strong opinions about cocoa powder. Hershey’s Special Dark gives you that deep, almost wine-like chocolate flavor, while regular unsweetened cocoa powder delivers that classic, nostalgic taste. Both work beautifully – it just depends on the mood you’re going for.
For butter, I always use unsalted so I can control the salt level myself. Room temperature is ideal, but if you forgot to take it out (happens to the best of us), cutting it into small cubes helps it melt evenly without overheating your mixture.
The milk choice might seem insignificant, but trust me on this one – whole milk creates that silky texture we’re after. I tried 2% once when that’s all I had, and while the cookies were still good, they lacked that luxurious mouthfeel that makes these special.
Quick Equipment Secrets That Matter
You don’t need a fancy kitchen to make amazing quick cocoa no bake cookies, but a few smart choices make all the difference. I always reach for my heaviest saucepan – it distributes heat evenly and prevents those heartbreaking burnt spots that can ruin a whole batch.
My biggest game-changer discovery? A silicone spatula instead of a wooden spoon. The flexibility lets you scrape every bit of chocolatey goodness from the pan corners, and it won’t retain odors like wood can.
Here’s a little trick my friend Sarah taught me: line your baking sheets with parchment paper before you start cooking. Sounds obvious, but when you’re working quickly with hot mixture, having everything ready prevents that panicky moment when you’re holding a spatula full of cookie mixture with nowhere to put it.

Quick Cocoa No Bake Cookies
Equipment
- Heavy-bottomed saucepan
- Rubber spatula
- Measuring cups and spoons
- Parchment Paper
- baking sheets
Ingredients
2 cups granulated sugar
1/2 cup unsalted butter
1/2 cup whole milk
1/3 cup unsweetened cocoa powder
1 teaspoon vanilla extract
3/4 cup creamy peanut butter
3 cups quick-cooking oats
1/4 teaspoon salt
Instructions
Prepare workspace: Line two baking sheets with parchment paper. Measure out all ingredients before starting.
Mix dry ingredients: In a small bowl, whisk together sugar and cocoa powder to eliminate lumps.
Heat mixture: In a heavy-bottomed saucepan over medium heat, combine the sugar-cocoa mixture, butter, and milk. Stir constantly until butter melts and mixture is smooth.
Boil precisely: Bring mixture to a full rolling boil and let boil for exactly 60 seconds without stirring. Use a timer for accuracy.
Add flavoring: Remove from heat immediately. Stir in vanilla extract (it will sizzle), then peanut butter until completely melted and smooth.
Fold in oats: Gently fold in oats and salt until every oat is coated and mixture holds together when lifted with spatula.
Shape cookies: Working quickly, drop mixture by rounded tablespoons onto prepared parchment paper.
Set cookies: Let cool at room temperature for 20-30 minutes until firm. For faster setting, refrigerate for 10 minutes.
Notes
Nutrition
Step-by-Step Quick Cocoa Success
Getting Your Cocoa Base Perfect
Start by whisking cocoa powder and sugar together in a dry bowl. This simple step eliminates lumps and ensures even chocolate distribution throughout your cookies. I learned this the hard way after biting into what should have been a perfect cookie, only to hit a pocket of bitter cocoa powder.
When you combine everything in your saucepan, keep the heat at medium and stir constantly. You’ll see the mixture go from grainy to smooth to gloriously glossy – that’s your cue that the cocoa has fully incorporated and bloomed. Usually takes about 3-4 minutes of patient stirring.
The critical moment is when it reaches a full rolling boil. Start your timer for exactly 60 seconds. Not 45, not 90 – sixty seconds gives you that perfect consistency where the cookies will set properly without becoming too firm.
The Quick Addition Technique
Once you remove the pan from heat, speed becomes your friend. Vanilla extract goes in first – listen for that satisfying sizzle that tells you the mixture is still hot enough to properly incorporate everything.
If you’re adding peanut butter (and honestly, why wouldn’t you?), stir it in until completely melted and smooth. The residual heat does all the work here – no need to put it back on the stove.
Oats go in last, and here’s where gentle folding beats aggressive stirring every time. You want to coat every oat without breaking them up. The mixture should look cohesive and hold together when you lift your spatula.
When Quick Cocoa Goes Wrong (And How to Fix It)
Cocoa Cookie Disasters I’ve Learned From
Let me tell you about last month’s cookie catastrophe. I was making a batch for my book club, got distracted by a text message, and let the mixture boil for probably three minutes instead of one. What I ended up with looked more like chocolate gravel than cookies.
But here’s what I discovered: most cookie disasters are fixable. If your mixture gets too hard, add a tablespoon of milk and gently reheat while stirring. If it’s too soft to hold its shape, add a handful more oats. The key is working while the mixture is still warm and pliable.
My friend Mike once called me in a panic because his cookies wouldn’t set after two hours. Turns out he’d used old cocoa powder that had lost its binding properties. Fresh cocoa powder isn’t just about flavor – it actually helps the cookies hold together structurally.
Quick Cocoa Variations Worth Trying
Once you’ve mastered the basic technique, these cookies become a canvas for creativity. My kids absolutely love the version where I add mini marshmallows in the last thirty seconds of cooking – they get slightly melted and create these amazing pockets of sweetness.
For special occasions, I sometimes drizzle melted white chocolate over the cooled cookies. It looks fancy but takes maybe five extra minutes. My daughter’s friends think I’m some kind of dessert wizard when I serve these at sleepovers.
And here’s a variation that might sound crazy but works beautifully: replace half the oats with crushed graham crackers. It gives the cookies this subtle honey flavor that pairs incredibly well with the cocoa. I discovered this by accident when I was short on oats, and now it’s become one of my most requested versions.

Quick Cocoa Like a Pro – Insider Secrets
Storage Tricks That Keep Them Perfect
Game changer alert: these cookies actually improve over the first day. Something about how the oats continue to absorb moisture makes the texture even better. I always make them a day ahead for parties now.
For storage, airtight containers are non-negotiable. I use glass containers with tight-fitting lids, and they stay fresh for up to a week at room temperature. Though honestly, they’ve never lasted that long in my house.
If you’re making them for a crowd, they freeze beautifully. Layer them between parchment paper in freezer containers, and they’ll keep for up to three months. Let them thaw at room temperature for about twenty minutes before serving.
Making Quick Cocoa Party-Ready
When I’m serving these for company, presentation matters. I like to arrange them on a wooden cutting board with some fresh berries scattered around – the color contrast makes the dark chocolate really pop.
Last minute panic situation? These cookies save the day every time. I keep the dry ingredients pre-measured in mason jars so I can whip up a batch whenever unexpected guests arrive. Takes the stress out of entertaining and makes me look way more prepared than I actually am.
For kids’ parties, I sometimes press a few colorful sprinkles into the tops while they’re still slightly warm. Not traditional, but the kids go absolutely crazy for them, and isn’t that what really matters?
The Sweet Finish
Looking back, I think these quick cocoa no bake cookies represent everything I love about home baking – or should I say, home no-baking! They’re approachable enough for beginners but satisfying enough that even experienced bakers keep them in their repertoire. And unlike more complex cookie recipes, they never make you feel like you’re failing if they don’t turn out picture-perfect.
The best part? Every time I make them, I’m reminded that some of life’s sweetest moments happen in the simplest ways. Whether you’re satisfying a sudden chocolate craving, creating an after-school surprise, or just want something delicious without the fuss, these little circles of cocoa comfort are ready to deliver. And if you find yourself wanting to explore even more no-bake possibilities, my complete Classic No Bake Cookie Recipes guide has become many readers’ go-to resource for everything from traditional favorites to creative new twists.
Can’t wait to hear how your batch turns out – and don’t forget to save a few before the rest of the family discovers them cooling on the counter! I absolutely love seeing photos of your cookie creations, so feel free to share them on our Facebook page or tag me when you post. And if you’re looking for even more no-bake inspiration, I’m always pinning new ideas and variations over on Pinterest – it’s become quite the collection of sweet treats that don’t require an oven!
Frequently Asked Questions
Can I use Dutch-process cocoa instead of regular?
Oh, this is a great question! Dutch-process cocoa works beautifully here and actually gives you an even richer flavor. The processing removes some of the acidity, so you get this lovely, mellow chocolate taste that’s absolutely divine.
What if I don’t have quick oats?
Regular rolled oats work fine – just pulse them in a food processor a few times to break them up slightly. The texture will be a bit chewier, but many people actually prefer it that way.
How do I know when the mixture is ready to come off the heat?
You’re looking for a full rolling boil where the entire surface is bubbling actively. If only part of it is bubbling, keep stirring and heating until the whole mixture is at a vigorous boil.
Can I make these without peanut butter?
Absolutely! Just increase the oats by about half a cup and add an extra tablespoon of butter. You might also try almond butter or even a tablespoon of tahini for something different.
Why did my cookies turn out crumbly?
Usually this means the mixture didn’t get hot enough or didn’t boil long enough. The sugar needs to reach that proper consistency to act as a binder for all the other ingredients.


1 thought on “Quick Cocoa No Bake Cookies: The 15-Minute Magic That Saved My Wednesday”