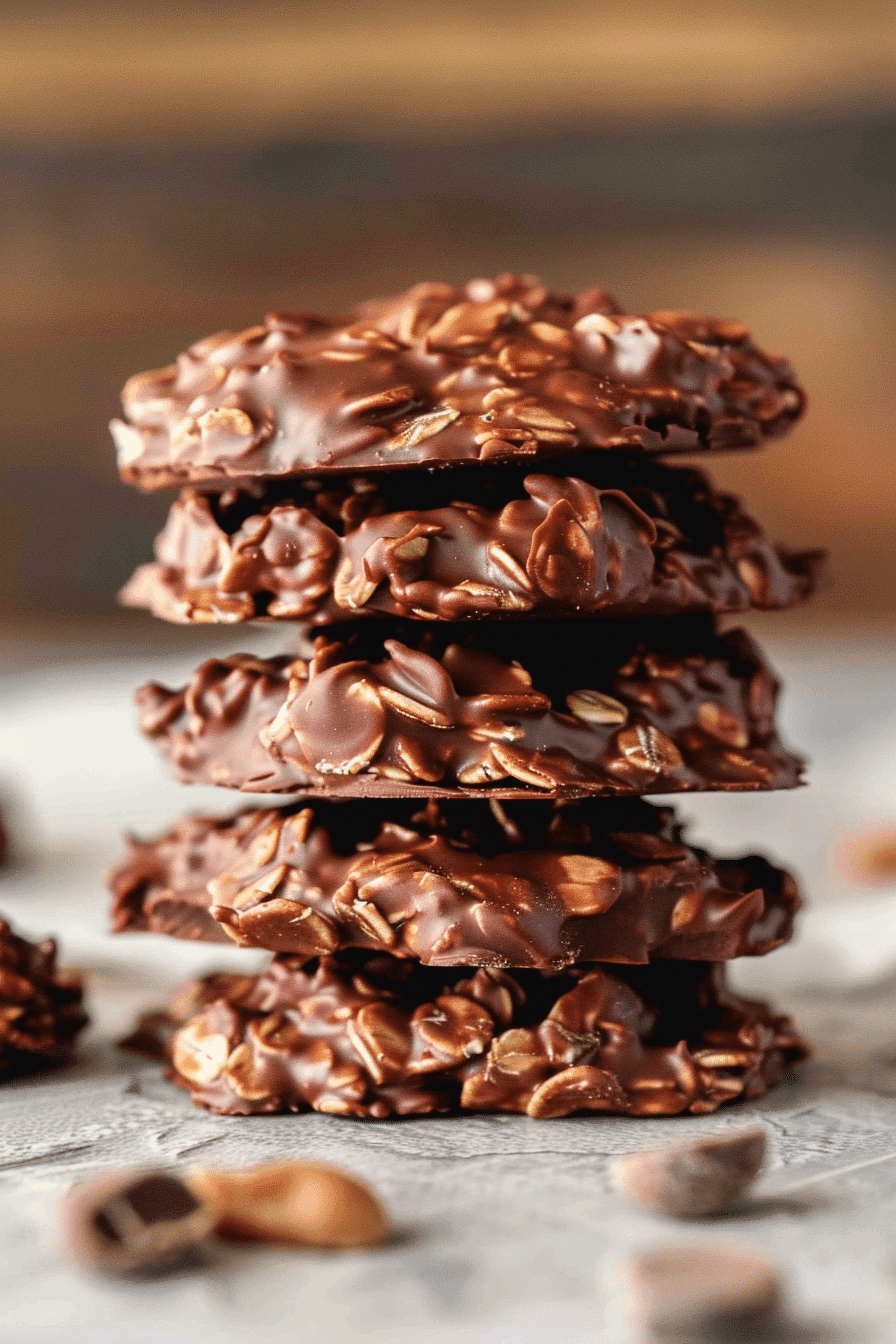
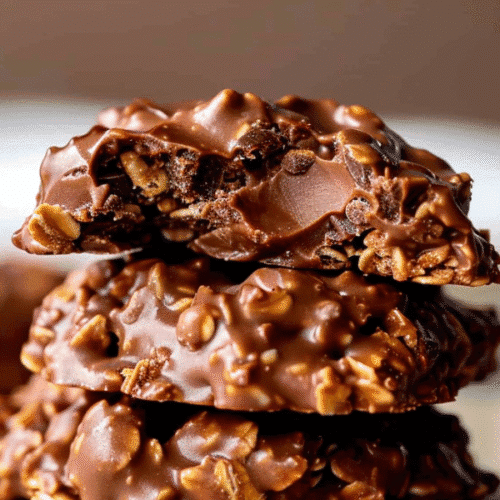
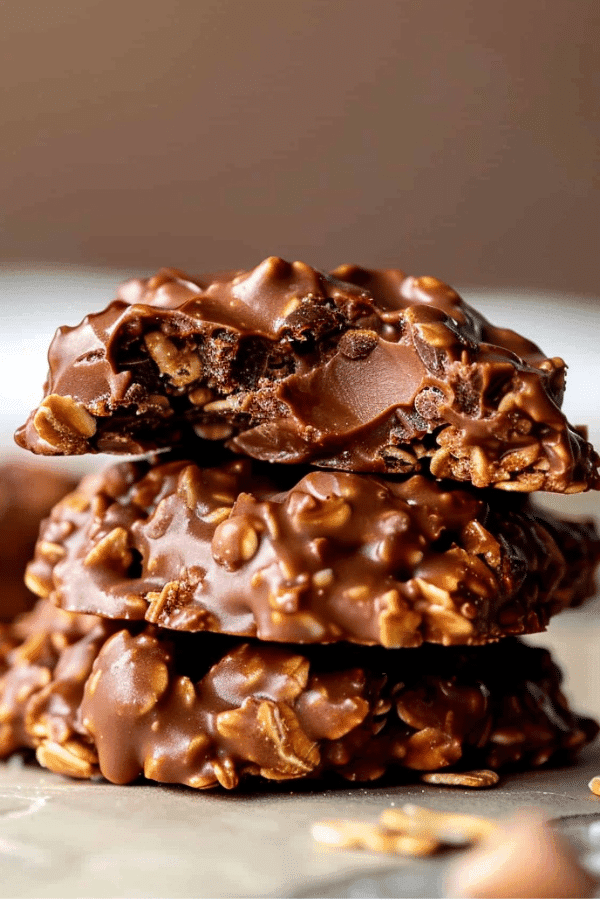
You know that moment when you’re scrolling through social media and see those ridiculously gorgeous swirled desserts that make you think, “There’s no way I could ever make something that pretty”? Well, friend, today I’m going to prove you wrong! Last Wednesday evening, I was frantically trying to come up with something impressive for my neighbor’s potluck when I discovered the most incredible secret – you can create those Instagram-worthy swirls in no bake cookies.
And honestly? These peanut butter chocolate swirl no bake cookies turned out so stunning that three people asked me for the recipe before I even finished setting them on the table. The best part? They took me less than 30 minutes from start to finish, and I didn’t even need to turn on my oven.
If you’re looking for more no-bake inspiration, you’ll want to check out our classic no bake cookie recipes guide that covers all the fundamentals. But today, we’re taking things up a notch with these show-stopping swirled beauties that’ll have everyone thinking you went to pastry school.

Table of Contents
The Swirled Cookie Revolution – How This Game-Changing Technique Came to Be
Why Peanut Butter Chocolate Swirl No Bake Cookies Changed Everything
Here’s the thing nobody tells you about traditional no bake cookies – they’re delicious, but they all look pretty much the same. Brown, bumpy, and honestly kind of… rustic. Don’t get me wrong, I love a good classic no bake cookie, but sometimes you want something that makes people go “wow” before they even take a bite.
I stumbled onto this swirl technique completely by accident. My daughter was making her regular no bake cookies (she’s obsessed with them), and I was simultaneously working on a peanut butter fudge recipe. When she asked for help, I absentmindedly grabbed both mixtures and – magic happened. The way the warm chocolate mixture naturally created these gorgeous marbled patterns with the peanut butter was absolutely mesmerizing.
What Makes Swirled No Bake Cookies Actually Work
The secret is all in the temperature contrast and timing. The hot chocolate mixture stays fluid just long enough to create those perfect swirls when you add room-temperature peanut butter. It’s like watching art happen in real time – the peanut butter doesn’t melt completely, but it softens just enough to create these beautiful ribbons throughout each cookie.
Between you and me, the first time I tried this, I got so excited watching the swirls form that I almost forgot to actually drop the cookies onto the parchment paper. My husband still teases me about standing there with a spoon full of cookie mixture, just watching it swirl like some kind of dessert hypnotist.

Peanut Butter Chocolate Swirl No Bake Cookies
Equipment
- 1 Medium heavy-bottomed saucepan Essential for even heating
- 1 wooden spoon For stirring hot mixture
- 2 Large baking sheets Line with parchment
- 1 Cookie scoop or tablespoon For uniform cookies
- 1 Butter knife For creating swirls
Ingredients
2 cups granulated sugar
1/2 cup unsalted butter
1/2 cup whole milk
1/4 cup unsweetened cocoa powder
1 teaspoon vanilla extract
1/4 teaspoon salt
3 cups old-fashioned rolled oats
3/4 cup creamy peanut butter, room temperature
Instructions
Prepare your workspace by lining 2 large baking sheets with parchment paper. Set aside.
In a medium heavy-bottomed saucepan, combine sugar, butter, milk, and cocoa powder. Stir to combine.
Place saucepan over medium heat and bring mixture to a rolling boil, stirring constantly. Once boiling vigorously across the entire surface, let boil for exactly 90 seconds. Set a timer!
Remove from heat immediately and stir in vanilla extract and salt until smooth.
Add the oats and stir until completely coated with the chocolate mixture.
Working quickly, add the room-temperature peanut butter in dollops across the surface of the hot mixture.
Using a butter knife, gently swirl the peanut butter through the chocolate mixture with figure-8 motions. Don’t overmix – you want distinct ribbons!
Using a cookie scoop or tablespoon, immediately drop cookies onto prepared parchment paper while mixture is still warm and swirls are visible.
Let cookies set at room temperature for 15-20 minutes until firm. Don’t refrigerate immediately or they’ll become gooey.
Store in airtight container at room temperature for up to 1 week.
Notes
- Make sure peanut butter is at room temperature – cold PB won’t swirl properly
- Work quickly once you remove from heat – you have about 2-3 minutes of perfect swirling time
- Don’t overmix the swirls or you’ll lose the marbled effect
- If cookies are too crumbly: You may have overcooked the mixture
- If cookies won’t set: Mixture wasn’t boiled long enough
- If swirls disappear: Peanut butter was too cold or mixture was overmixed
Nutrition
Mastering Perfect Peanut Butter Chocolate Swirl No Bake Cookies – My Foolproof Method
The No Bake Cookie Base That Never Fails
After years of making traditional no bake cookies, I’ve learned that the foundation has to be absolutely perfect for the swirl technique to work. You need that ideal balance where the mixture is hot enough to create fluid swirls but not so hot that it completely melts your peanut butter.
I always use natural cocoa powder (not Dutch-processed) because it gives you that deep, rich chocolate flavor that plays beautifully against the peanut butter. And here’s a tip my grandmother taught me – add your vanilla extract off the heat. It preserves that gorgeous vanilla aroma that makes these cookies smell like heaven.
For the oats, old-fashioned rolled oats are non-negotiable. Quick oats turn mushy, and steel-cut oats are too firm. You want that perfect chewy texture that holds the swirls in place while still giving you that classic no bake cookie bite.
The Swirling Secret That Changes Everything
The magic happens in those crucial 30 seconds after you remove the chocolate mixture from heat. This is when you’ll add your room-temperature peanut butter – not cold from the fridge, not melted, but that perfect spreadable consistency.
Here’s my technique: drop dollops of peanut butter directly into the hot mixture, then use a knife to create figure-8 patterns. Don’t overmix! You want distinct ribbons of peanut butter weaving through the chocolate. Trust me on this one – I’ve made the mistake of over-swirling, and you end up with muddy brown cookies instead of gorgeous marbled masterpieces.
The timing is everything. Work quickly but gently, and you’ll create these stunning patterns that look like you spent hours on each cookie.

Step-by-Step Peanut Butter Chocolate Swirl No Bake Cookie Success
Getting Your Chocolate Base Exactly Right
Start by combining 2 cups sugar, ½ cup butter, ½ cup milk, and ¼ cup cocoa powder in a heavy-bottomed saucepan. Heavy-bottomed is key here – thin pans create hot spots that can ruin your texture.
Bring this mixture to a rolling boil, stirring constantly. You’ll know it’s ready when the entire surface is bubbling vigorously, not just around the edges. Let it boil for exactly 90 seconds – I always set a timer because this timing is crucial for the perfect consistency.
The Swirl Technique That Wows Every Time
Remove from heat and immediately stir in 1 teaspoon vanilla and 3 cups old-fashioned oats. Mix until the oats are completely coated. Now comes the fun part – add ¾ cup of room-temperature creamy peanut butter in dollops across the surface.
Using a butter knife, create gentle swirling motions. I like to make figure-8 patterns and gentle S-curves. The peanut butter will create these gorgeous ribbons that look absolutely professional. Don’t worry if it doesn’t look perfect immediately – each cookie will be unique, and that’s part of their charm.
Working quickly, drop spoonfuls onto parchment paper. You’ll see those beautiful swirls in every single cookie, and honestly, it never gets old watching people’s faces when they see them.
When Peanut Butter Chocolate Swirl No Bake Cookies Go Wrong (And How to Fix It)
No Bake Cookie Disasters I’ve Survived
Let me tell you about the time I thought I could multitask and answer a phone call while making these cookies. Big mistake! I let the mixture boil too long, and my “swirls” looked more like peanut butter confetti scattered through chocolate concrete. The cookies were so hard, my husband joked about using them as hockey pucks.
If your cookies turn out too crumbly, you likely overcooked the chocolate mixture. The sugar caramelizes too much and creates a texture that can’t hold those gorgeous swirls. Next time, watch that timer like a hawk – 90 seconds and not a second more.
On the flip side, if your cookies never set up properly, you probably didn’t boil long enough. The mixture needs to reach that perfect consistency where it’s thick enough to hold the peanut butter swirls but still fluid enough to work with.
Swirl Variations Worth Trying
Once you master the basic technique, the possibilities are endless! My kids beg for the version where I add mini chocolate chips to the peanut butter before swirling – it creates these amazing textural surprises in every bite.
For grown-up gatherings, I sometimes add a pinch of sea salt to the peanut butter or use natural peanut butter with that slightly more complex flavor. And during the holidays, a tiny bit of cinnamon in the peanut butter creates this subtle warmth that pairs beautifully with the chocolate.
Pro Tips for Peanut Butter Chocolate Swirl No Bake Cookie Success
Storage Tricks That Keep Them Perfect
Game changer alert – these cookies actually improve after sitting for a few hours! The flavors meld together, and the swirls become even more pronounced. Store them in a single layer in an airtight container, and they’ll stay perfect for up to a week (though they never last that long in my house).
If you want to get really fancy for a party, arrange them on a tiered serving stand. The swirls catch the light beautifully, and people always assume you spent way more time on them than you actually did.
For gifting, place them in clear containers so people can admire those gorgeous swirls. I learned this the hard way when I put them in opaque boxes for a bake sale – nobody realized how pretty they were until they opened the container!
Making These Cookies Party-Ready
These cookies are absolute showstoppers for entertaining. The swirled pattern makes each one unique, so your dessert table looks like it was styled by a professional. I love making them for potlucks because they travel beautifully and always generate the most compliments.
For special occasions, try serving them on dark plates to make those peanut butter swirls really pop. And if you’re feeling extra fancy, a light dusting of powdered sugar right before serving makes them look absolutely elegant.
Swirled Cookie Success That’ll Make You the Star
These peanut butter chocolate swirl no bake cookies have honestly changed how I think about no bake desserts. They prove that you don’t need an oven or fancy equipment to create something absolutely stunning. Every time I make them, I’m reminded that sometimes the best discoveries happen completely by accident – like when you’re just trying to help your daughter with her baking project and end up creating something magical.
The combination of that rich chocolate base with those gorgeous ribbons of peanut butter creates not just a delicious cookie, but a real conversation starter. People always want to know the secret, and I love sharing this technique because it’s so much easier than it looks.
Can’t wait to hear how yours turn out! If you make these gorgeous cookies, I’d love to see photos. Tag us on social media or share your swirl variations – there’s something so satisfying about seeing everyone’s unique interpretations of this technique.
For more incredible no bake inspiration and step-by-step tutorials, follow along on Pinterest where we share daily baking tips, or join our community on Facebook for real-time baking help and recipe swaps. Happy swirling!
FAQ: Your Swirled Cookie Questions Answered
Can I make these gluten-free?
Oh, this is a great question! Yes, absolutely – just use certified gluten-free oats. The rest of the ingredients are naturally gluten-free, so you’re all set. I’ve made these for my gluten-free friends countless times, and they never feel like they’re missing out.
Why won’t my swirls show up?
This usually happens when the peanut butter is too cold or the chocolate mixture has cooled too much. Make sure your peanut butter is at room temperature – I actually take mine out of the pantry about an hour before I start baking. And work quickly once you remove that chocolate mixture from heat!
Can I use natural peanut butter?
You can, but the swirls won’t be quite as distinct since natural peanut butter tends to be thinner. If you do use it, make sure it’s well-stirred and at room temperature. The results are still delicious, just slightly different visually.
How do I get the timing right?
Practice makes perfect, but honestly, even imperfect swirls look amazing! The key is having everything ready before you start – peanut butter at room temperature, parchment paper laid out, and your spoon ready for dropping. Once you remove from heat, you’ve got about 2-3 minutes of perfect swirling time.


1 thought on “Peanut Butter Chocolate Swirl No Bake Cookies: The Stunning Treat That’ll Make Your Kitchen Look Like a Bakery”