Last month, my daughter Emma came home from her friend’s house absolutely raving about these “different” no-bake cookies. “Dad, they taste like… like pancakes and chocolate had a baby!” she announced, still bouncing from her sugar high. Naturally, I had to investigate.
Turns out, Emma’s friend’s mom had been making no-bake cookies with pure maple syrup instead of granulated sugar. At first, I’ll admit, I was skeptical. I mean, we’ve been perfecting our traditional no-bake cookie game for years – why mess with a good thing? But one bite of those maple-sweetened beauties, and I was completely converted.
These no bake cookies with maple syrup aren’t just different – they’re better. Richer, more complex, with this incredible depth of flavor that regular sugar just can’t match. And the best part? They’re actually easier to make than the traditional version.
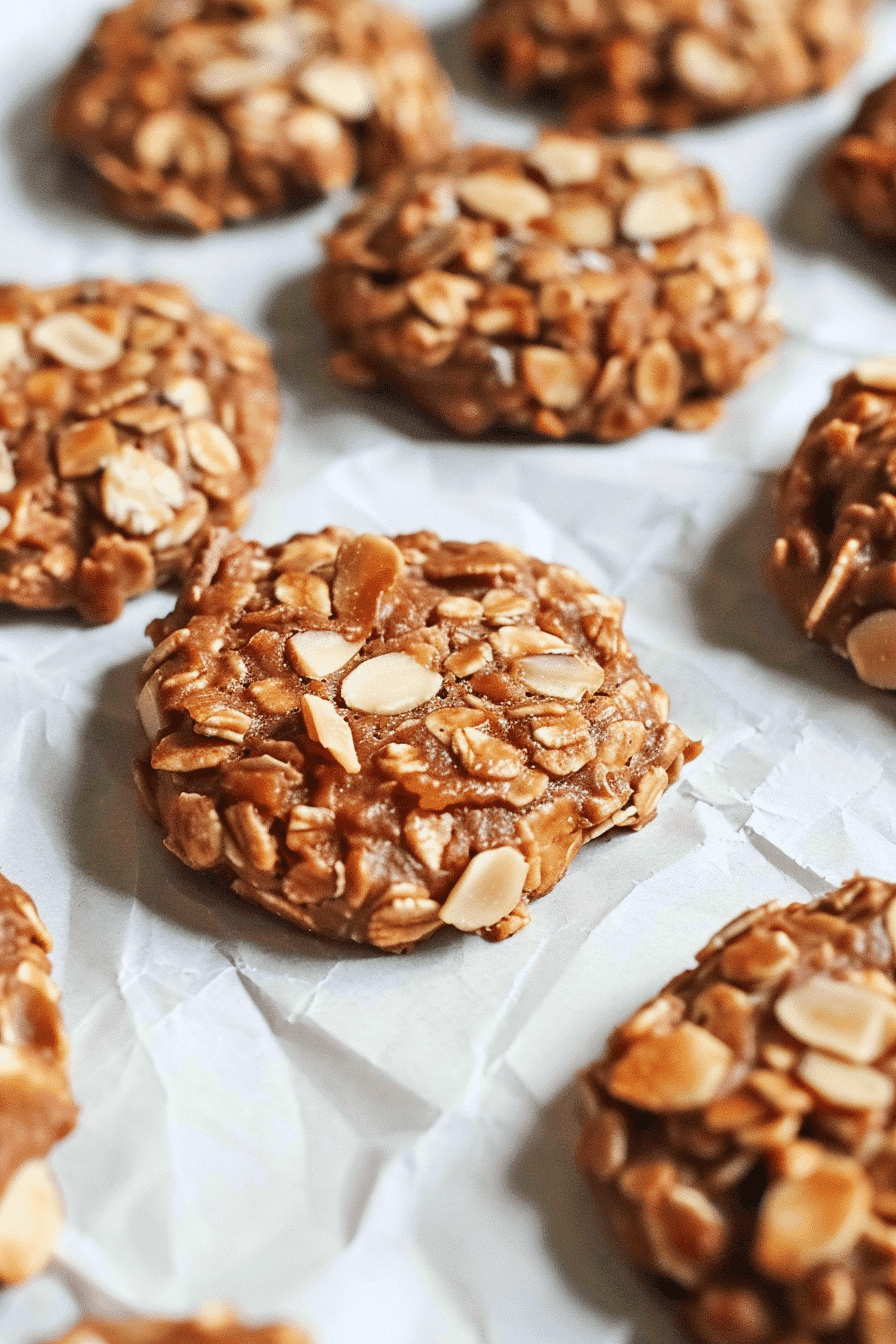
Table of Contents
The Maple Syrup Revolution in No-Bake Cookies
How Maple Syrup Changes the Game Completely
Now, here’s the thing most people don’t realize about maple syrup in no-bake cookies – it’s not just about swapping one sweetener for another. Pure maple syrup brings something to the table that granulated sugar never could: complexity.
When you heat maple syrup, it doesn’t just dissolve like sugar does. It deepens, caramelizes slightly, and creates these incredible flavor notes that range from vanilla to butterscotch to something almost smoky. Every bite tastes like fall in Vermont, but in cookie form.
This approach works across so many different classic no-bake cookie recipes I’ve tested over the years. The maple doesn’t overpower other flavors – it enhances them. It makes chocolate taste more chocolatey, peanut butter taste nuttier, and oats taste heartier.
Between you and me, there’s also something incredibly satisfying about using a natural sweetener that comes straight from a tree. No processing, no chemicals, just pure maple goodness that’s been sweetening treats for centuries.
The Science Behind Maple Syrup Magic
Here’s what fascinated me when I started diving into this maple syrup method – the way it behaves is completely different from regular sugar. When you boil maple syrup, it reaches different consistency stages much faster than a sugar mixture.
Traditional no-bake cookies rely on that sugar mixture reaching exactly the right temperature to bind everything together. With maple syrup, you’re working with something that’s already naturally sticky and binding. The result? Cookies that hold together better and have a more tender texture.
I learned this the hard way during my first few attempts. I kept trying to boil the maple syrup for the same amount of time as sugar, and ended up with cookies hard enough to use as hockey pucks. Trust me on this one – maple syrup needs less time, but more attention.
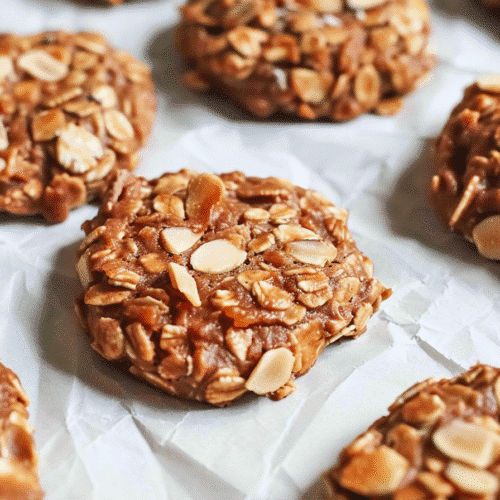
No Bake Cookies with Maple Syrup
Equipment
- Heavy-bottomed saucepan
- Candy thermometer optional
- wooden spoon
- Cookie Scoop
- Parchment Paper
- baking sheets
Ingredients
- 1/2 cup pure maple syrup Grade A Dark Robust preferred – no pancake syrup!
- 1/4 cup unsalted butter cut into pieces for easier melting
- 2 tablespoons whole milk any milk works fine
- 1/4 cup unsweetened cocoa powder not Dutch-processed
- 1/2 cup creamy peanut butter make sure it's smooth and runny
- 1 teaspoon vanilla extract
- 2 1/2 cups quick-cooking oats quick oats work better than old-fashioned for texture
Instructions
Line baking sheets with parchment paper.
In heavy saucepan, combine maple syrup, butter, and milk over medium heat.
Stir until butter melts, then bring to steady boil for 60-90 seconds (230°F on thermometer).
Remove from heat, whisk in cocoa powder until smooth.
Stir in peanut butter and vanilla until combined.
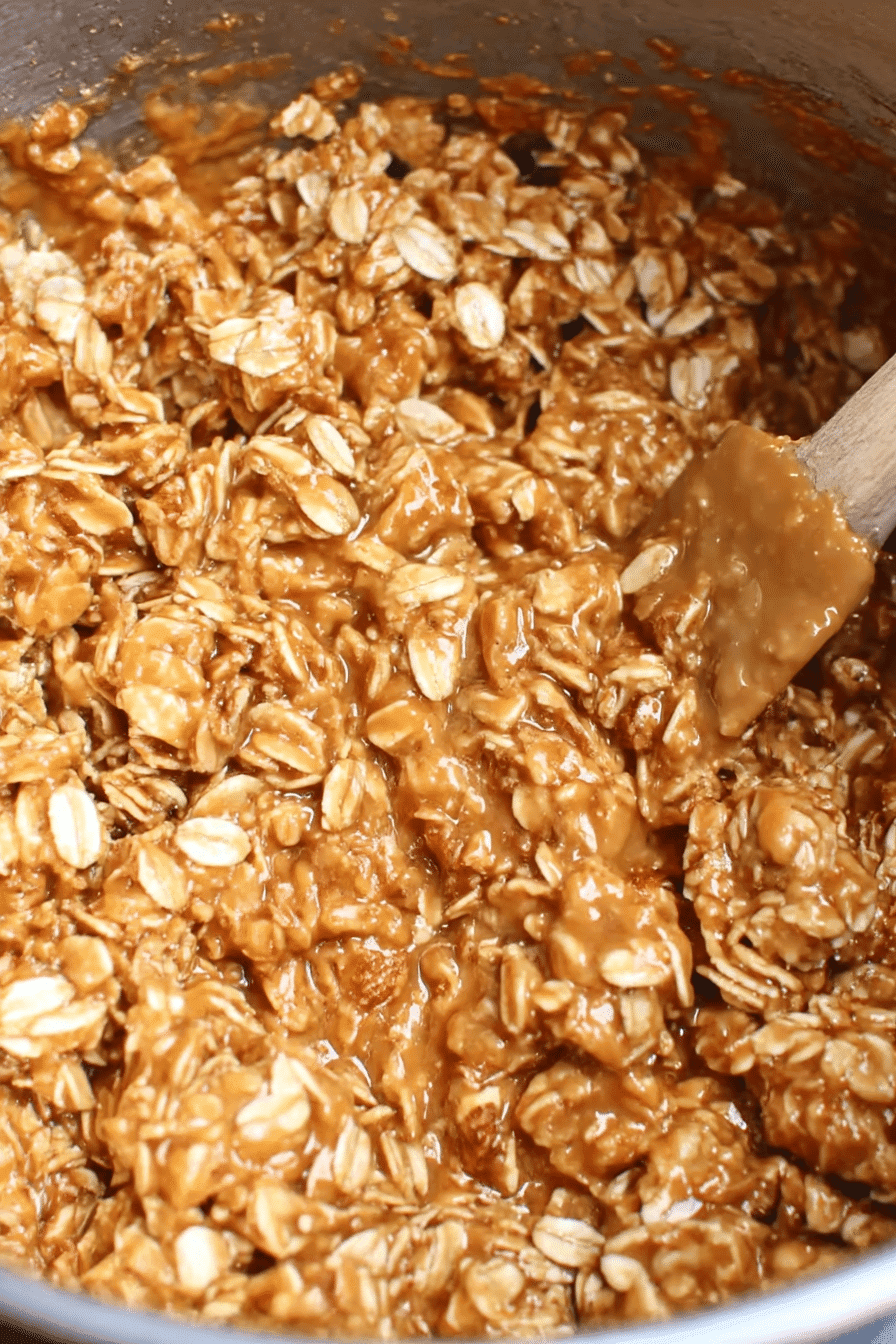
Fold in oats until evenly coated.
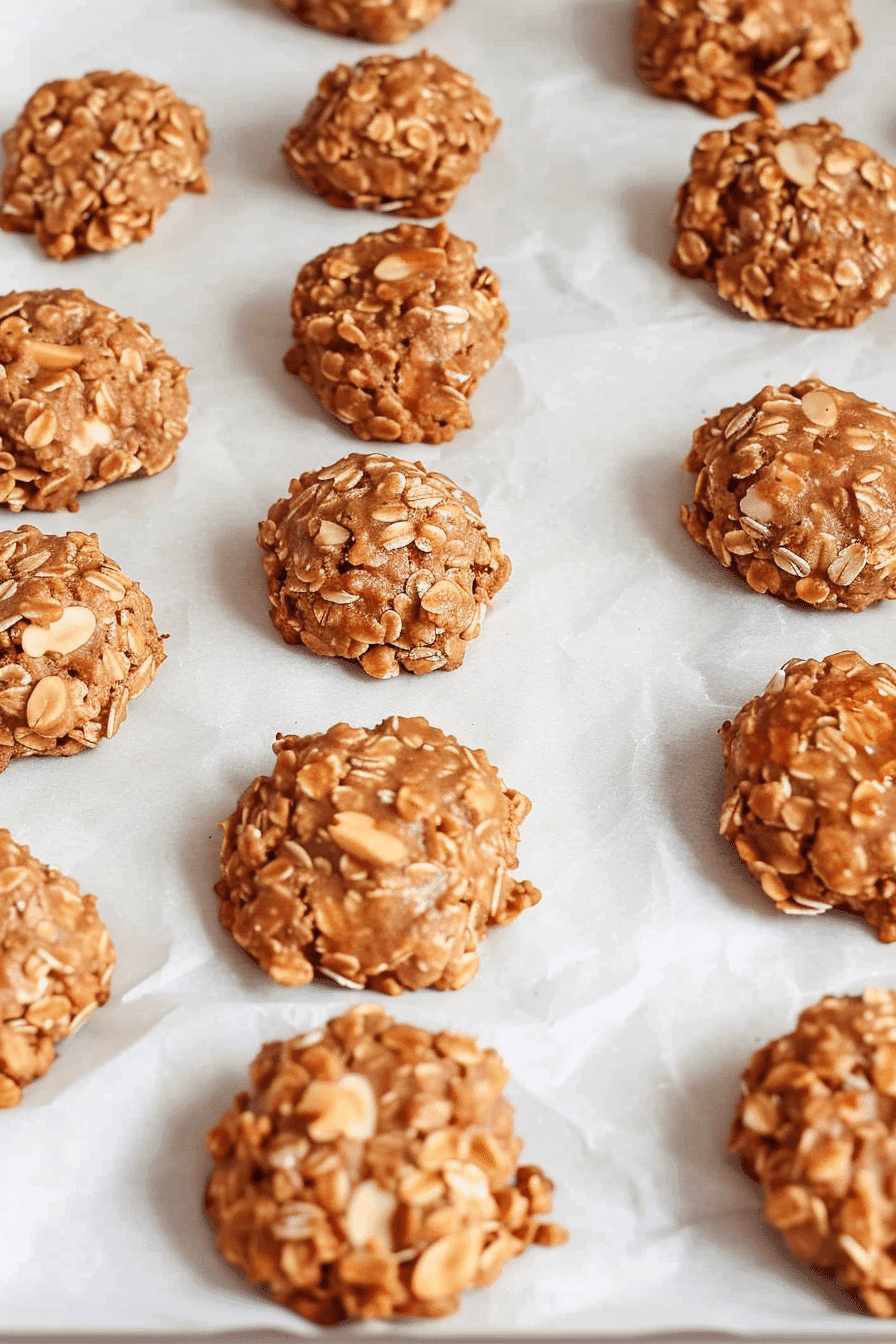
Drop spoonfuls onto parchment, let cool 20 minutes until set.
Notes
– Must use pure maple syrup – Grade A Dark Robust has the best flavor
– Don’t over-boil the maple syrup or cookies will be too hard
– Keep heat at medium to prevent scorching
– Cookies actually taste better the next day as flavors develop
– Can be frozen for up to 3 months Variations:
– Add 1/4 cup chopped toasted pecans for crunch
– Try 1/3 cup shredded coconut for tropical twist
– Add pinch of cinnamon for warm spice note Troubleshooting:
– If cookies are too hard: boiled maple syrup too long
– If cookies won’t set: didn’t boil long enough or hot enough
Nutrition
Perfecting No Bake Cookies with Maple Syrup
The Maple Syrup That Makes All the Difference
Let me save you some frustration right up front – not all maple syrup is created equal for this recipe. You absolutely, positively must use pure maple syrup. None of that “pancake syrup” or “maple-flavored” stuff that’s mostly corn syrup with artificial flavoring.
I prefer Grade A Dark Robust (formerly Grade B) maple syrup for cookies. It has more complex flavor than the lighter grades, and that deeper taste really shines through in the finished cookies. Plus, it’s usually less expensive than the fancy light grades, which is a win in my book.
The consistency matters too. If your maple syrup has been sitting in the cabinet for months and crystallized, warm it gently until it’s smooth again before using. Those crystals can create weird texture issues in your cookies.
Here’s my pro tip: buy your maple syrup in bulk during sugaring season (late winter/early spring) when prices are lowest. I get mine directly from a maple farm about an hour from here, and it keeps for ages in the pantry.
Equipment and Timing Secrets
The timing for maple syrup no-bake cookies is different from traditional ones, and this is where most people mess up. You’re not looking for that hard rolling boil that lasts for minutes. Instead, you want a gentle, steady boil for just about 60-90 seconds.
I use a heavy-bottomed saucepan for this – it distributes heat evenly and prevents hot spots that can scorch the maple syrup. And here’s something I wish someone had told me earlier: keep your heat at medium, not medium-high. Maple syrup can go from perfect to burnt faster than you’d think.
My game-changing equipment discovery? A candy thermometer. Once I started using one, my success rate went from about 70% to nearly 100%. You’re aiming for 230°F – the same temperature as traditional no-bake cookies, but you’ll reach it much faster with maple syrup.
Step-by-Step Maple Syrup Cookie Success
Getting Your Maple Base Perfect
Start with 1/2 cup of pure maple syrup in your heavy saucepan. Add 1/4 cup of butter and 2 tablespoons of milk – yes, less liquid than traditional recipes because maple syrup provides moisture that sugar doesn’t.
Heat this mixture over medium heat, stirring gently until the butter melts completely. Once everything is combined and starting to bubble around the edges, let it come to a steady boil.
Here’s the crucial part: boil for exactly 60-90 seconds while stirring constantly. The mixture will look glossy and slightly thickened. If you’re using a thermometer, you want to hit 230°F. Remove from heat immediately – don’t let it keep cooking.
Adding the Magic Ingredients
Stir in 1/4 cup of unsweetened cocoa powder while the mixture is still hot. It’ll bloom beautifully in the heat, creating this rich chocolate base that tastes incredible with the maple.
Next comes 1/2 cup of creamy peanut butter and 1 teaspoon of vanilla extract. The hot maple mixture will melt everything together into this glossy, fudgy base that smells absolutely divine.
Now for the best part – fold in 2 1/2 cups of quick-cooking oats. You’ll notice the mixture coats the oats differently than sugar-based cookies do. It’s more evenly distributed, and every oat gets this beautiful maple-chocolate coating.
Working quickly, drop spoonfuls onto parchment paper. I like mine about the size of a golf ball – they’re rich enough that you don’t need huge cookies.
When Maple Syrup Cookies Go Wrong (And How to Save Them)
The Great Maple Syrup Disaster of Last Fall
Let me tell you about the time I decided to “improve” this recipe by using fancy Grade A Golden maple syrup and doubling the boiling time. The result? Cookies that were basically maple-flavored rocks. Emma took one bite and diplomatically said they’d be “great for dunking in milk… if you wanted to wait an hour for them to soften.”
Here’s what I learned from that disaster: lighter maple syrups don’t have enough body to properly bind the cookies, and over-boiling maple syrup creates a texture that’s more like brittle than fudge.
If your cookies turn out too hard, it usually means you boiled the maple syrup too long or at too high heat. Next time, reduce the boiling time to 60 seconds and keep that heat at medium.
On the flip side, if your cookies won’t set up and stay sticky, the mixture didn’t get hot enough. Make sure you’re seeing steady bubbles across the entire surface, not just around the edges.
Maple Variations That Actually Work
Once you master the basic maple technique, there are some incredible variations to try. My personal favorite is adding 1/4 cup of chopped toasted pecans – they complement the maple flavor beautifully and add this amazing crunch.
For the holidays, I sometimes add a pinch of cinnamon and 1/4 cup of mini chocolate chips. It tastes like fall and chocolate had the most delicious collaboration ever.
Emma’s current obsession is what she calls “Maple Coconut Paradise” – I add 1/3 cup of unsweetened shredded coconut along with the oats. The coconut gets slightly toasted from the hot mixture and adds this tropical twist that somehow works perfectly with maple.
Pro Storage and Serving Tips
Why These Cookies Get Better with Time
Here’s something that surprised me about maple syrup no-bake cookies – they actually improve after sitting for a day or two. Something about the maple syrup continues to work its magic, making the cookies more tender and the flavors more integrated.
Store them in an airtight container at room temperature for up to a week. Unlike some no-bake cookies that can get crumbly after a few days, these maintain their perfect texture thanks to the natural moisture in the maple syrup.
For longer storage, they freeze beautifully for up to three months. I like to freeze them on a baking sheet first, then transfer to freezer bags with parchment between layers. They thaw quickly and taste just as good as fresh.
Making Them Look Bakery-Perfect
Want to make these cookies look extra special? Right after you drop them onto the parchment, use the back of a spoon to create gentle swirl patterns on top. The maple mixture holds these patterns beautifully, giving you cookies that look like they came from a fancy bakery.
For gift giving, I sometimes drizzle melted chocolate over the cooled cookies. The combination of chocolate drizzle, maple flavor, and that rustic no-bake texture creates something that looks and tastes absolutely gourmet.
The Sweet Truth About Maple
These no bake cookies with maple syrup have completely changed how I think about sweeteners in no-bake treats. Every time I make them, I’m reminded that sometimes the most traditional ingredients – like pure maple syrup that’s been sweetening treats for generations – can create the most innovative results.
There’s something deeply satisfying about using a sweetener that comes straight from nature, with no processing or artificial anything. When Emma’s friends come over and ask what makes these cookies taste so amazing, I love telling them it’s the same stuff that comes from maple trees right here in our area.
But beyond the feel-good factor, these cookies are just plain better. They’re more flavorful, have better texture, and stay fresh longer than their sugar-based cousins. Once you try this maple approach, you’ll understand why I can never go back to making them the old way.
This maple syrup method has completely transformed how I approach all my no-bake treats. Whether you’re making basic chocolate-peanut butter cookies or experimenting with different add-ins, maple syrup brings that extra depth and complexity that transforms a simple treat into something special.
If you’ve got a bottle of pure maple syrup in your pantry, grab it and give these a try. Your taste buds will thank you, and you might just discover your new favorite way to make no-bake cookies. I’d love to see your maple cookie creations – you can find me sharing more no-bake inspiration on Pinterest and connecting with fellow no-bake enthusiasts on Facebook. There’s nothing quite like this community of people who’ve discovered that the best treats don’t always need an oven!
Your Maple Cookie Questions Answered
Can I use pancake syrup instead of pure maple syrup?
Oh, I really wouldn’t recommend it! Pancake syrup is mostly corn syrup and won’t give you the right texture or flavor. Pure maple syrup is essential for this recipe to work properly.
What if my maple syrup is really thick and slow-pouring?
Just warm it gently in the microwave for 20-30 seconds until it flows easily. Old or cold maple syrup can be stubborn, but a little heat brings it right back to life.
Can I make these without cocoa powder?
Absolutely! You can skip the cocoa for a pure maple cookie, or substitute cinnamon for a maple-spice version. Both are delicious.
Why do my cookies taste too sweet?
This usually happens if you accidentally used a light grade maple syrup, which can taste more intensely sweet. Try using Grade A Dark Robust next time – it has more complex flavor and less concentrated sweetness.
How do I know if I’ve boiled the mixture long enough?
You’re looking for steady bubbles across the entire surface and a temperature of 230°F if you have a thermometer. The mixture should look glossy and slightly thickened when you stir it.
