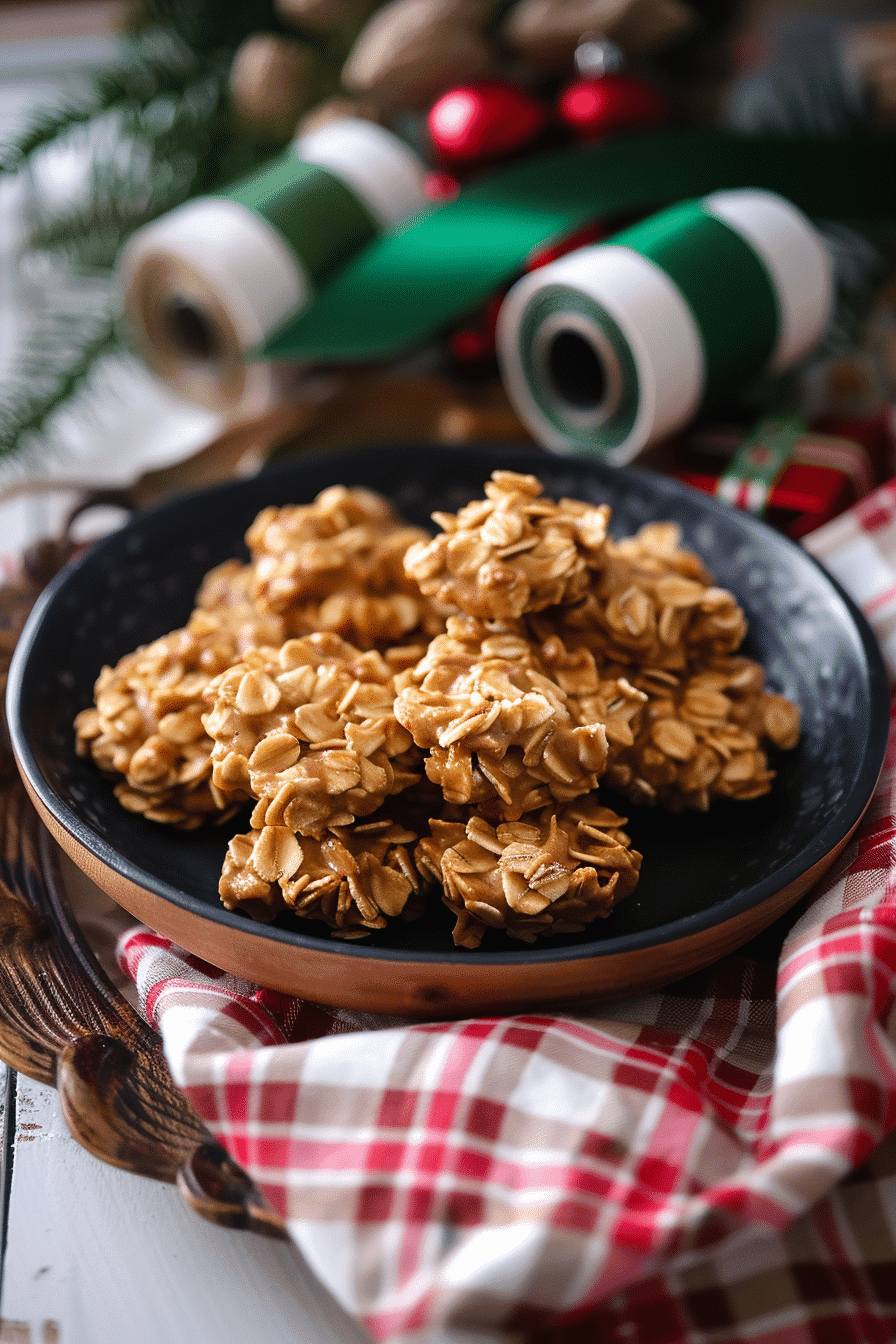
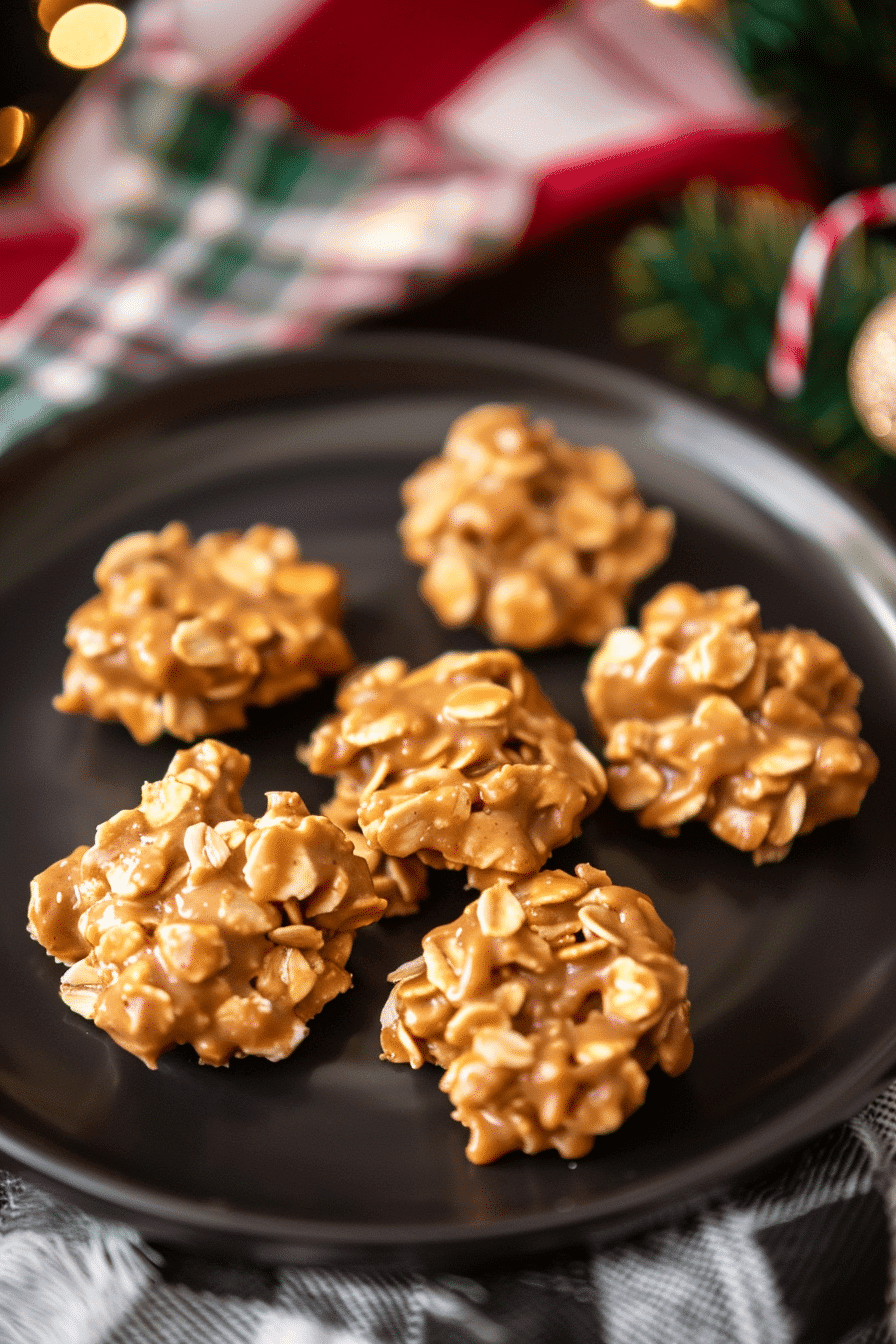
You know that moment when a smell hits you and suddenly you’re eight years old again?
That happened to me last Wednesday. I was stirring cocoa powder into melted butter when — BAM — there I was, standing on mom’s kitchen stool, watching her work the same magic. Grandma’s no bake cookie recipe wasn’t just dessert in our house. It was Wednesday after school. It was “company’s coming over.” It was “Edward’s being extra good today.”
Between you and me, I think I learned more about life from watching mom make these cookies than from any textbook. The way she’d test the mixture between her fingers. How she knew exactly when that glossy sheen meant “ready.” And honestly? The way she’d always make an extra batch “just in case.”
Ready for the real story behind the cookies that shaped my childhood? Let me share everything mom taught me about these little pieces of comfort — including the one secret that makes all the difference.

Table of Contents
Why Grandma’s No Bake Cookies Changed Everything
The Day I Discovered These Weren’t Just Any Cookies
I can’t tell you how many times I tried to recreate mom’s magic in my own kitchen. Spoiler: I didn’t succeed right away.
My first attempt? Let’s just say they looked more like chocolate gravel than cookies. I’d followed some random recipe online, but something was missing. That’s when mom sat me down and explained the Thompson family approach to no bake cookies.
“Edward,” she said, stirring her thousandth batch, “these recipes all look the same on paper. But there’s more to it than measurements.”
What Makes Grandma’s Version Actually Work
Here’s the thing nobody mentions in those basic classic no bake cookie recipes — the magic isn’t just in what you add. It’s in how you treat each ingredient like it matters.
Mom taught me that Hershey’s cocoa powder isn’t just a preference (though it absolutely is). The fat content in whole milk matters. And that exact 60-second boil? Non-negotiable.
But the secret ingredient? Time. Not rushing. Letting each step happen naturally.
Trust me, I learned this the hard way when I tried to speed things up before my daughter’s bake sale.
Making Perfect Grandma’s No Bake Cookies – My Foolproof Method
What Makes This Recipe Different From the Rest
Here’s what I’ve learned after making thousands of these cookies: it’s not just about having a recipe. It’s about understanding why each ingredient matters and how they work together.
Mom always said these no bake cookies are like a science experiment that tastes amazing. You’ve got your sugar creating structure, your fat (butter and peanut butter) adding richness, and your oats providing that perfect chewy texture that makes people close their eyes and smile.
But here’s the secret most recipes won’t tell you — the quality of your cocoa powder changes everything. Cheap cocoa makes flat-tasting cookies. Good cocoa (we always used Hershey’s) creates that deep chocolate flavor that makes people ask for the recipe.
The recipe card below has all the exact measurements, but let me share the technique secrets that make the real difference.
The Temperature Tricks That Save Everything
This is where I see most people mess up with their easy no bake cookies. You’re not just heating sugar and milk — you’re creating the foundation for everything.
Start with medium heat. Not medium-high because you’re impatient (guilty as charged). Let the butter melt slowly while you stir. Watch for that moment when everything becomes one smooth mixture.
Then — and this is crucial — let it come to a rolling boil. Set a timer for exactly 60 seconds. Not 50 seconds. Not “about a minute.” Sixty seconds.
You’ll know it’s ready when the mixture looks glossy and thick enough to coat your spoon.
My neighbor Sarah once asked me, “How do you know when it’s perfect?” The answer: it looks like melted chocolate happiness.

Grandma’s No Bake Cookie Recipe
Equipment
- medium saucepan
- wooden spoon
- Measuring cups
- Measuring spoons
- Parchment Paper
- baking sheets
- Timer
Ingredients
2 cups granulated sugar (white sugar only, mom always said brown sugar changes the texture)
1/2 cup whole milk (the fat content is crucial)
1/2 cup salted butter (adds that perfect background flavor)
1 tbsp unsweetened cocoa powder (Hershey's, like mom always used)
1/2 cup creamy peanut butter (Jif was mom’s brand of choice)
1 tsp vanilla extract (I measure with my heart, but start here)
3 cups quick-cooking oats (not old-fashioned, learned that lesson!)
Instructions
Line baking sheets with parchment paper and set aside.
In a medium saucepan, combine sugar, milk, butter, and cocoa powder over medium heat.
Stir constantly until butter melts and mixture is smooth with no sugar granules.
Bring to a rolling boil and boil for exactly 60 seconds, stirring occasionally. Set a timer!
Remove from heat immediately and stir in peanut butter until melted and smooth.
Add vanilla extract and mix well.
Fold in oats until every oat is coated with the chocolate mixture.
Drop spoonfuls (walnut-sized) onto prepared parchment paper.
Let cool at room temperature for 15-20 minutes until set, or refrigerate for faster setting.
Notes
Nutrition
Step-by-Step Success With Grandma’s Recipe
Getting Your Base Right Every Time
Line a couple baking sheets with parchment paper first. Trust me on this one — trying to do it with hot mixture waiting is not fun.
In a medium saucepan, combine sugar, milk, butter, and cocoa powder. Stir constantly over medium heat until the butter melts completely. No sugar granules should remain.
Bring to a rolling boil. This is the moment that determines everything. Keep stirring and boil for exactly 60 seconds. Your kitchen will smell like chocolate dreams.
Pro tip from years of practice: If you rub a tiny bit of mixture between your fingers and still feel sugar granules, keep stirring. When it’s smooth as silk, you’re ready for the next step.
The Assembly That Changes Everything
Remove from heat immediately after your 60-second timer goes off. This is where the magic happens.
Stir in peanut butter first — watch it melt into ribbons of creamy goodness. Add vanilla extract (mom always said this was the “love ingredient”).
Finally, fold in the oats. This isn’t mixing cake batter — be gentle but thorough. Every oat should be coated with that chocolatey mixture.
Drop spoonfuls onto your prepared parchment paper. I make mine about the size of a walnut, but mom always said “make them the size that makes you happy.”
My kids beg for the slightly irregular ones. Something about imperfection makes them taste better, I think.
When No Bake Cookies Go Wrong (And How to Fix It)
Kitchen Disasters I’ve Survived
Let me tell you about the time I overboiled the mixture into what basically became chocolate cement. It was 2018, I was trying to impress my in-laws, and I got distracted by my toddler’s latest crisis.
The mixture seized up like concrete. I panicked. Called mom.
“Did you boil it too long?” she asked.
“Maybe… a little?”
“How little?”
“Three minutes.”
She laughed so hard she snorted. Then she helped me start over. Sometimes you can’t fix it — you just have to begin again. That’s the beauty of no bake cookies, quick to mess up, quick to redo.
Humidity Solutions Worth Trying
Here’s something I wish someone had told me earlier: humidity is no-bake cookies’ worst enemy.
Living in the South taught me that some days, cookies just won’t set the same way. On particularly humid days, I pop the finished cookies in the fridge for 30 minutes. Game changer.
For different occasions, try these variations:
- Coconut lovers: Add 1/2 cup shredded coconut with the oats
- Extra crunch: Toss in 1/4 cup chopped pecans (mom’s special occasion addition)
- Holiday magic: A pinch of peppermint extract makes them taste like Christmas
I’ve also found that making them smaller on humid days helps them set better. Sometimes adapting is better than fighting the weather.
Pro Tips From Years of Thompson Family Baking
Storage Secrets That Actually Work
Room temperature in an airtight container keeps them perfect for 3-4 days. But honestly? They’ve never lasted that long in our house.
For longer storage, layer them between wax paper in the fridge. They’ll keep for a week and taste just as good as day one.
Freezing tip I learned from my friend’s restaurant: Freeze them in single layers on baking sheets first, then transfer to freezer bags. They thaw beautifully and taste fresh.
Making Grandma’s Recipe Party-Ready
Doubling the recipe? Easy. Just use a bigger saucepan and watch your timing. Everything else stays exactly the same.
Need them fancy? Drizzle with melted white chocolate after they’re set. Mom never did this, but I’ve found it makes people think I’m fancier than I actually am.
Running late for an event? The refrigerator is your friend. Twenty minutes in the fridge beats an hour on the counter.
Last-minute panic hack: If they’re still too soft to move, grab a spatula and call them “no bake cookie bars.” Problem solved.

The Sweet Legacy of Simple Ingredients
You know what I love most about this recipe? It’s exactly the same today as when mom learned it from her mother. No fancy ingredients. No complicated techniques. Just patience, good ingredients, and a little love stirred in.
Every time I make these grandma’s no bake cookies, I’m reminded that the best recipes aren’t just instructions — they’re stories. Stories about after-school treats and special occasions. About learning to cook beside someone who cares about you.
These cookies taste like childhood. Like comfort. Like everything good about homemade treats.
Your turn to create some magic. Start with this recipe, but don’t be afraid to make it your own. Maybe you’ll add a little extra vanilla like I do. Maybe you’ll discover your own perfect timing.
And hey, I’d absolutely love to see how your cookies turn out! Share your no-bake cookie creations with our community on Pinterest where we’re always swapping recipe inspiration and variations, or connect with fellow cookie makers on Facebook, because the best part about family recipes is sharing them with people who understand the magic.
Can’t wait to hear how your batch turns out. Something tells me grandma would be proud.
Want to explore more classic recipes? Check out our complete guide to Classic No Bake Cookie Recipes for even more nostalgic treats that’ll transport you straight back to childhood. And if you’re looking for more family-friendly options.
Frequently Asked Questions About This No Bake Cookie Recipe
Can I use old-fashioned oats instead of quick-cooking?
Oh, this takes me back to my early mistakes! You can, but pulse them in a food processor a few times first. Old-fashioned oats make the cookies chewier in a way that’s not quite right for this traditional no bake cookie style.
What if my mixture won’t set up?
Usually means you didn’t boil long enough. Mom always said, “Better a tiny bit too long than not long enough.” Next time, trust that full 60-second timer.
Can I make these without peanut butter?
The peanut butter is crucial for texture and flavor, but I’ve had success with almond butter in a pinch. Just know it’ll taste different from grandma’s original.
Why do some recipes call for different boiling times?
Great question! I’ve seen everything from 30 seconds to 3 minutes. But mom’s 60 seconds has never failed me. Some recipes might account for different altitudes or humidity, but this timing works consistently at sea level.

