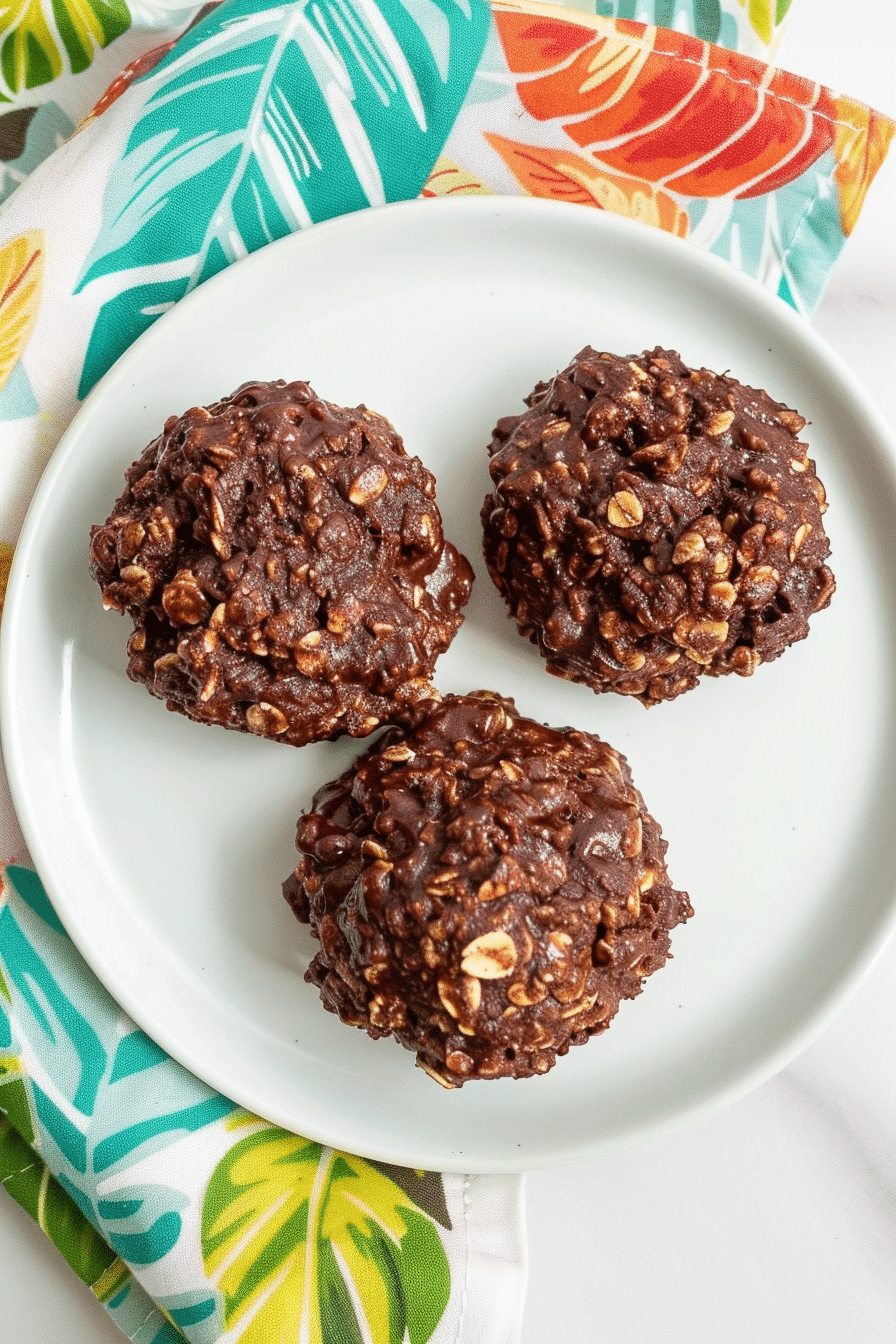
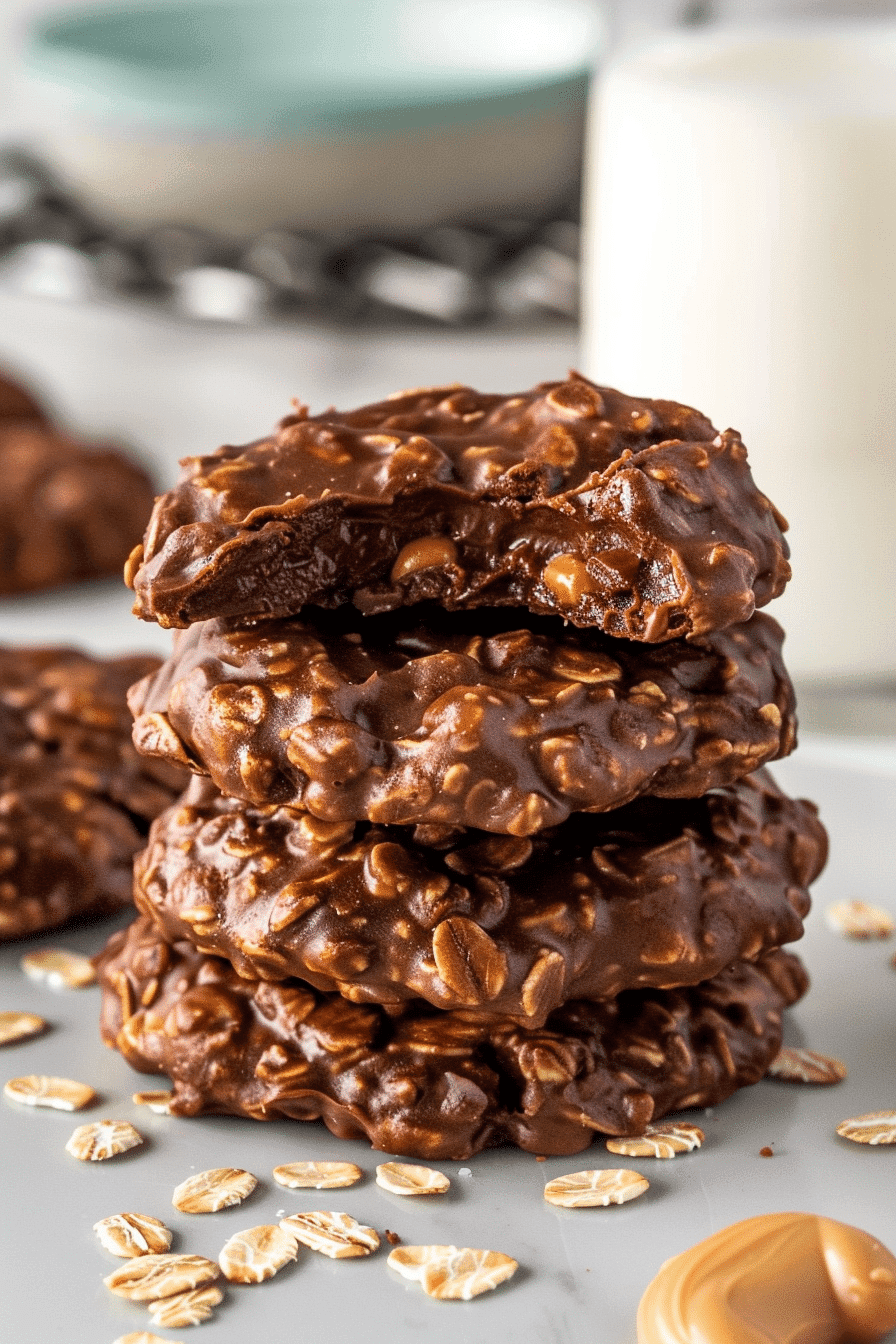
Easy no bake chocolate fudge cookies deliver everything you love about rich, chocolatey desserts without ever turning on your oven. These aren’t your typical no-bake cookies – they’re intensely fudgy, perfectly sweet, and ready in just 20 minutes from start to finish.
What sets these no bake chocolate fudge cookies apart from regular no-bake varieties? The secret lies in the perfect balance of real cocoa powder, butter, and just enough liquid to create that signature fudgy texture. While traditional no-bake cookies rely mainly on peanut butter for richness, these cookies get their decadent flavor from actual chocolate.
The beauty of easy no bake chocolate fudge cookies is their simplicity. You need just seven basic ingredients that you probably already have in your pantry, one saucepan, and about 20 minutes of your time. No preheating ovens, no waiting for cookies to bake, and no worrying about overbaking or underbaking.
Today I’m sharing the exact method that guarantees perfect results every time, including the temperature techniques that prevent common disasters and the mixing secrets that create that ideal fudgy texture. You’ll also discover storage tips that keep these cookies fresh for days and troubleshooting solutions for when things don’t go as planned.

Table of Contents
What Makes No Bake Chocolate Fudge Cookies Different from Regular No-Bake Cookies
The Chocolate Factor That Changes Everything
Now, here’s the thing about no bake chocolate fudge cookies – they’re not just regular no-bake cookies with extra cocoa powder thrown in. Trust me, I learned this the hard way when my first batch turned into chocolate-flavored hockey pucks.
The magic happens in the chocolate-to-liquid ratio. While classic no-bake cookies rely on that iconic peanut butter and oat combination, these beauties get their richness from actual chocolate. This means using real cocoa powder working alongside melted butter and just enough milk to create something that tastes like fudge but sets up like a proper cookie.
Here’s the thing about chocolate – it can be temperamental. Chocolate wants to seize up if heated too aggressively, but treat it right with gentle heat and proper stirring, and it’ll give you the smoothest, most decadent cookies you’ve ever made without an oven.
Cocoa powder brings that deep chocolate flavor that makes these cookies taste expensive, while the combination of butter and milk creates the creamy base that sets up into that perfect fudgy texture we’re after.
Why These Beat Traditional Chocolate Cookies
Between you and me, I used to be skeptical about no-bake cookies. How could something made on the stovetop compete with properly baked cookies? But after perfecting these easy no bake chocolate fudge cookies, I’m a complete convert.
They’re ready in 20 minutes flat. No preheating, no waiting for ovens, no timing anxiety. You literally watch them come together in the pot, and that’s oddly satisfying. Plus, they have this incredible fudgy texture that’s somewhere between a cookie and a truffle – something you just can’t achieve in the oven.
The Foundation: Essential Ingredients That Actually Matter
Getting Your Chocolate Base Right
Let me tell you about the ingredients that make or break these cookies. First up: cocoa powder. Don’t use that chalky stuff from the bottom of your pantry that’s been there since 2019. The quality of your cocoa powder directly impacts the final flavor of your easy no bake chocolate fudge cookies.
Here’s what works: Hershey’s Special Dark or Ghirardelli unsweetened cocoa powder. Both have that deep, rich flavor that makes these cookies taste like expensive chocolate. The difference between cheap and good cocoa powder is the difference between “meh” cookies and “please-give-me-the-recipe” cookies.
For the butter, I always use real butter – never margarine. I know it’s more expensive, but butter gives you that creamy richness that makes these cookies melt in your mouth. Kerry Gold if you’re feeling fancy, but honestly, regular salted butter from any grocery store works perfectly.
The Sugar Situation Nobody Talks About
Here’s something discovered through trial and error: granulated sugar works best for these no bake chocolate fudge cookies. Brown sugar might seem like it would add molasses notes, but it actually creates texture problems. Granulated sugar dissolves better and gives you that smooth fudge consistency we’re after.
The milk is crucial too. Whole milk, please. I know everyone’s trying to use skim milk for everything, but trust me on this one – the fat content matters for texture. Without enough fat, your cookies will set up too hard and lose that beautiful fudgy quality.

Easy No Bake Chocolate Fudge Cookies
Equipment
- medium saucepan
- wooden spoon
- Cookie scoop or regular spoon
- Parchment Paper
Ingredients
2 cups granulated sugar
1/2 cup whole milk
1/2 cup butter
1/4 cup unsweetened cocoa powder
1/2 cup peanut butter
1 teaspoon vanilla extract
3 cups old-fashioned oats
Instructions
Line countertop with parchment paper for dropping cookies
In medium saucepan, combine sugar, milk, butter, and cocoa powder
Stir mixture constantly over medium heat until reaching rolling boil
Boil for exactly 60 seconds, stirring constantly
Remove from heat immediately
Quickly stir in peanut butter, vanilla, and oats until well combined
Drop spoonfuls onto parchment paper using cookie scoop or spoon
Let cool 30 minutes until completely set
Store in airtight container up to 1 week
Notes
- Use medium heat only – high heat will scorch the mixture
- Don’t skip the peanut butter – it’s essential for proper texture
- Work quickly when dropping cookies as mixture sets fast
- Old-fashioned oats are crucial for the right texture
- In humid weather, refrigerate cookies for 30 minutes to help them set
Nutrition
My Foolproof Method for Perfect No Bake Chocolate Fudge Cookies
The Temperature Game That Changes Everything
Okay, so here’s where most people mess up these easy no bake chocolate fudge cookies: they treat the stovetop like it’s a race car instead of a gentle simmer situation.
Medium heat, folks. That’s it. I cannot stress this enough because I’ve watched too many people crank the heat thinking it’ll save time, only to end up with a scorched mess that tastes like burnt regret. Your mixture needs to come to a rolling boil, but getting there slowly means everything mixes properly and your cocoa doesn’t seize up.
You’ll know you’ve hit the sweet spot when the mixture bubbles enthusiastically but doesn’t sound angry. If it’s spitting and hissing like a mad cat, turn down the heat. The whole process should take about 4-5 minutes of gentle heating before you reach that perfect rolling boil.
The Stirring Technique My Friend Sarah Taught Me
My friend Sarah makes these cookies for every church potluck, and she taught me the stirring secret that makes them foolproof. You start stirring before the heat goes on and you never stop until those cookies are on the parchment paper.
Constant, gentle stirring prevents hot spots and keeps everything smooth. Use a wooden spoon if you have one – it doesn’t conduct heat like metal spoons do, so you won’t accidentally cook your hand while stirring. And honestly? There’s something satisfying about the rhythm of stirring that makes the whole process feel meditative.
When you add the oats and vanilla (more on timing below), your stirring motion should change to more of a folding action. You want to incorporate everything without overworking the mixture. Think gentle hugs, not aggressive wrestling.
Step-by-Step Success: Making Perfect Fudge Cookies
Getting Your Base Silky Smooth
Start by combining 2 cups granulated sugar, 1/2 cup milk, 1/2 cup butter, and 1/4 cup unsweetened cocoa powder in a medium saucepan. This is where that gentle heat philosophy comes into play.
Stir everything together before you even turn on the burner. Getting everything mixed while it’s still cool prevents lumps and gives you that head start on a smooth base. Then, medium heat and constant stirring until the mixture reaches a rolling boil.
You’ll know it’s ready when it bubbles consistently across the entire surface for 60 seconds. Not 30 seconds, not 90 seconds – exactly 60 seconds. I learned this timing from watching my neighbor’s grandmother make these, and she was religious about that minute mark.
The Magic Moment: Adding the Good Stuff
Remove the pot from heat immediately after that 60-second boil. This is crucial because the mixture will keep cooking from residual heat, and you don’t want to overcook your base.
Now comes the fun part: stir in 1/2 cup peanut butter (yes, these chocolate fudge cookies still need peanut butter for texture), 1 teaspoon vanilla extract, and 3 cups old-fashioned oats. The mixture should come together like a thick, glossy, chocolatey dream.
Working quickly but calmly, drop spoonfuls onto parchment paper. I use a cookie scoop because it gives consistent sizes, but a regular spoon works fine too. These cookies set up fast, so don’t dawdle – but don’t panic either. You’ve got about 3-4 minutes of working time.
When No Bake Chocolate Fudge Cookies Go Wrong (And How to Fix It)
The Great Humidity Disaster of Last Summer
Last July, during one of those swampy Midwest weeks where the air felt like soup, I made my usual batch of easy no bake chocolate fudge cookies. Everything looked perfect in the pot, but they never set up. Just sad, chocolatey puddles on my parchment paper.
Turns out, humidity affects no-bake cookies more than anyone tells you. When it’s really humid (over 60%), your cookies need a little help setting up. My solution? Pop them in the refrigerator for 30 minutes after dropping them. Game changer, folks.
If your cookies are too soft and won’t hold their shape, it’s usually one of three things: you didn’t boil long enough, you added too much milk, or Mother Nature decided to make your kitchen feel like a tropical rainforest. The fridge trick works for all three problems.
When They Turn Into Chocolate Concrete
On the flip side, if your no bake chocolate fudge cookies turn out harder than hockey pucks, you probably boiled too long or used too much cocoa powder. I’ve been there – my first batch could’ve doubled as construction materials.
The fix for next time: watch that timer religiously and measure your cocoa powder properly. Level scoops, not heaping ones. And if disaster strikes and they’re already too hard, here’s my secret rescue mission: sandwich them with vanilla ice cream. Suddenly, your “failure” becomes an intentional ice cream sandwich that everyone raves about.

Pro Secrets for Next-Level No Bake Chocolate Fudge Cookies
Storage Tricks That Keep Them Perfect
Here’s something nobody mentions about storing these cookies: they actually get better after the first day. The flavors meld together, and that fudgy texture reaches its peak after about 24 hours in an airtight container.
I use those plastic containers with the snap-on lids – nothing fancy. Layer them between sheets of parchment paper if you’re stacking, though honestly, mine never last long enough to require stacking. Room temperature storage works perfectly for up to a week, but good luck making them last that long.
For longer storage, these freeze beautifully. Wrap individual cookies in plastic wrap and toss them in a freezer bag. They thaw in about 15 minutes and taste just as good as fresh. My daughter loves eating them straight from the freezer when she wants something cold and chocolatey.
Making Them Party-Ready
When I need to make these for crowds (hello, annual school fundraiser), I double the recipe and use a large, heavy-bottomed pot. The timing stays the same, but you’ll need to stir more vigorously to keep everything evenly heated.
For parties, I like to make them slightly smaller than usual – about walnut-sized instead of golf ball-sized. People can grab two without feeling guilty, and they look more elegant on a serving tray. Plus, smaller cookies set up faster, which is helpful when you’re making hundreds.
Variations Worth Trying
Trust me, once you master the basic easy no bake chocolate fudge cookies, you’ll want to experiment. My family’s favorite variation includes a handful of mini marshmallows stirred in right before dropping – they add this amazing chewy texture that plays beautifully against the fudgy base.
For the holidays, I sometimes add a pinch of peppermint extract instead of vanilla. Just a tiny bit – peppermint is strong and can easily overpower the chocolate. My kids also love when I stir in crushed Oreo cookies or chocolate chips for extra texture.
The beauty of this recipe is that it’s forgiving enough for experimentation but structured enough that you won’t accidentally ruin the basic chemistry. If you’re feeling adventurous with other classic no bake cookie recipes, this foundation technique works for most variations.
The Sweet Ending (And Your New Cookie Adventure)
Three years later, and these easy no bake chocolate fudge cookies have become our family’s go-to dessert for everything from last-minute company to midnight sweet cravings. Sarah still tells the story of the 3 AM bake sale rescue, though she conveniently forgets to mention how she waited until the last possible second to tell me.
What I love most about this recipe is how it turned a potential disaster into one of our most treasured family traditions. Every batch reminds me that the best solutions often come from simply working with what you have and not overthinking the process.
Whether you’re facing your own cookie emergency or just want something deliciously rich without the oven drama, these cookies have got your back. Start with this basic recipe, master the technique, and then make it your own. Can’t wait to hear how your batch turns out!
Connect with fellow no-bake cookie enthusiasts on Pinterest and Facebook for more inspiration and troubleshooting tips.
FAQ: Most Common Questions Answered
Can I make these without peanut butter?
Oh, this is a great question! You absolutely can substitute the peanut butter with almond butter or even sunflower seed butter if you have nut allergies. The texture will be slightly different – a bit more crumbly – but they’ll still be delicious. I’ve also used Nutella in a pinch, which creates these incredible hazelnut-chocolate cookies.
Why won’t my cookies set up properly?
Nine times out of ten, it’s either humidity or you didn’t boil long enough. Try the refrigerator trick I mentioned earlier, and next time, make sure you see that rolling boil for a full minute. Also, check your measurements – too much liquid will prevent proper setting.
Can I use quick oats instead of old-fashioned?
I wouldn’t recommend it. Quick oats break down too much during the cooking process and you lose that satisfying texture contrast. Old-fashioned oats give you those perfect little chewy bits that make these cookies special. It’s worth a trip to the store if you don’t have them.
How do I know when they’re completely set?
The cookies are ready when you can gently lift one edge with your finger and it holds its shape. Usually takes about 30 minutes at room temperature, but in humid weather, give them an hour or pop them in the fridge for 20 minutes.


1 thought on “Easy No Bake Chocolate Fudge Cookies: 5 Secrets for Perfect Results Every Time”