Sweet and creamy butterscotch cookies without using the oven.
So there I was, 3:15 on a Tuesday afternoon, staring at my empty cookie jar while my kids rattled the pantry doors like tiny, sugar-deprived prisoners. The oven was already occupied with dinner prep, it was 87 degrees outside, and frankly? I couldn’t handle another dish to wash. That’s when I remembered the butterscotch chips hiding behind the baking soda.
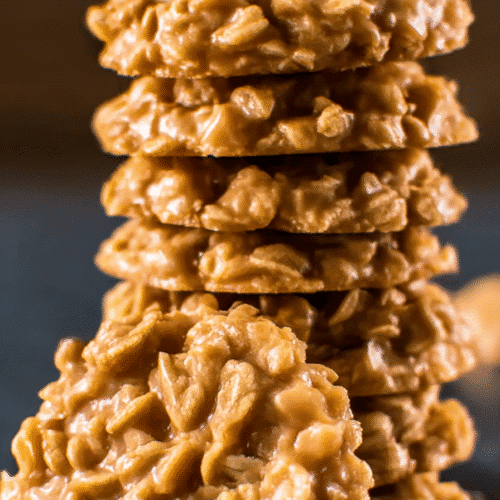
What came next was pure magic. Twenty minutes later, I had three dozen of the most gloriously chewy, caramel-kissed butterscotch no bake cookies cooling on my counter. And honestly? They might just become your new obsession, especially if you’re already a fan of classic no bake cookie recipes like the traditional chocolate peanut butter versions.
These classic butterscotch no bake cookies aren’t just another recipe to add to your collection. They’re your secret weapon for those moments when you need something sweet, satisfying, and ready NOW.
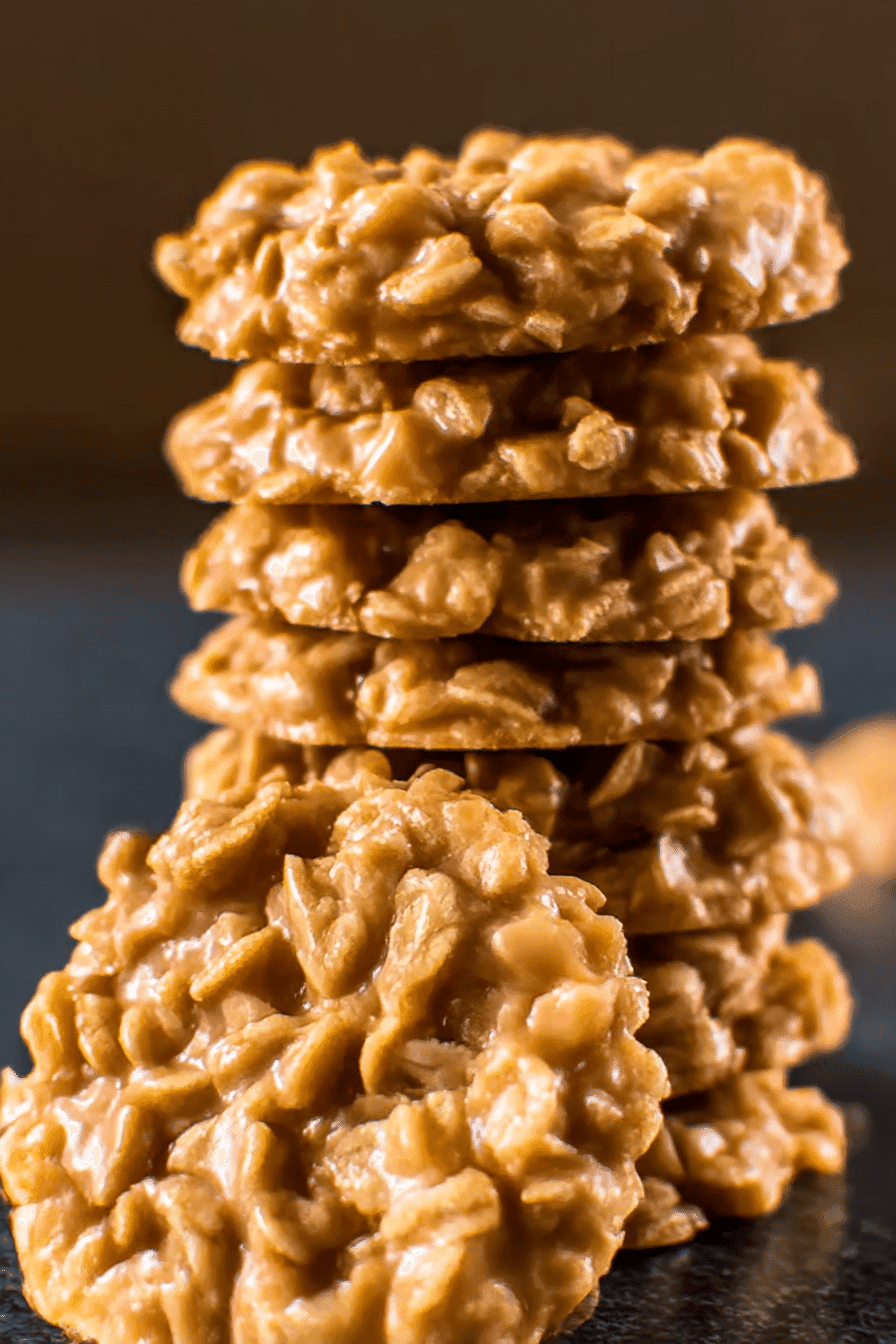
Table of Contents
Why Butterscotch No Bake Cookies Changed Everything
The Real Story Behind These Golden Treats
I’ll admit, I was a chocolate-and-peanut-butter no-bake purist for years. But butterscotch? That was uncharted territory. Here’s the thing nobody tells you about butterscotch: it’s not just brown sugar with an attitude. Real butterscotch has this deep, almost caramelized complexity that makes your taste buds do a little happy dance.
The first time I made these, my husband took one bite and said, “These taste like my childhood, but better.” And that’s exactly what butterscotch does – it hits that nostalgic sweet spot while feeling just fancy enough for grown-up palates.
What Makes Butterscotch Actually Work
Now, let me share something I learned the hard way: butterscotch chips aren’t just chocolate chips in disguise. They melt differently, creating an incredibly smooth, fudgy base when combined properly. This translates to cookies that hold together perfectly without being dense or overly sweet.
My neighbor taught me another secret: the butterscotch flavor actually intensifies as these cookies cool. So while they’re delicious warm, they’re absolutely sublime after sitting for an hour or two.
Classic Butterscotch No Bake Cookies
Equipment
- medium saucepan
- Candy thermometer
- Cookie scoop or large spoons
- Parchment Paper
Ingredients
WET INGREDIENTS:
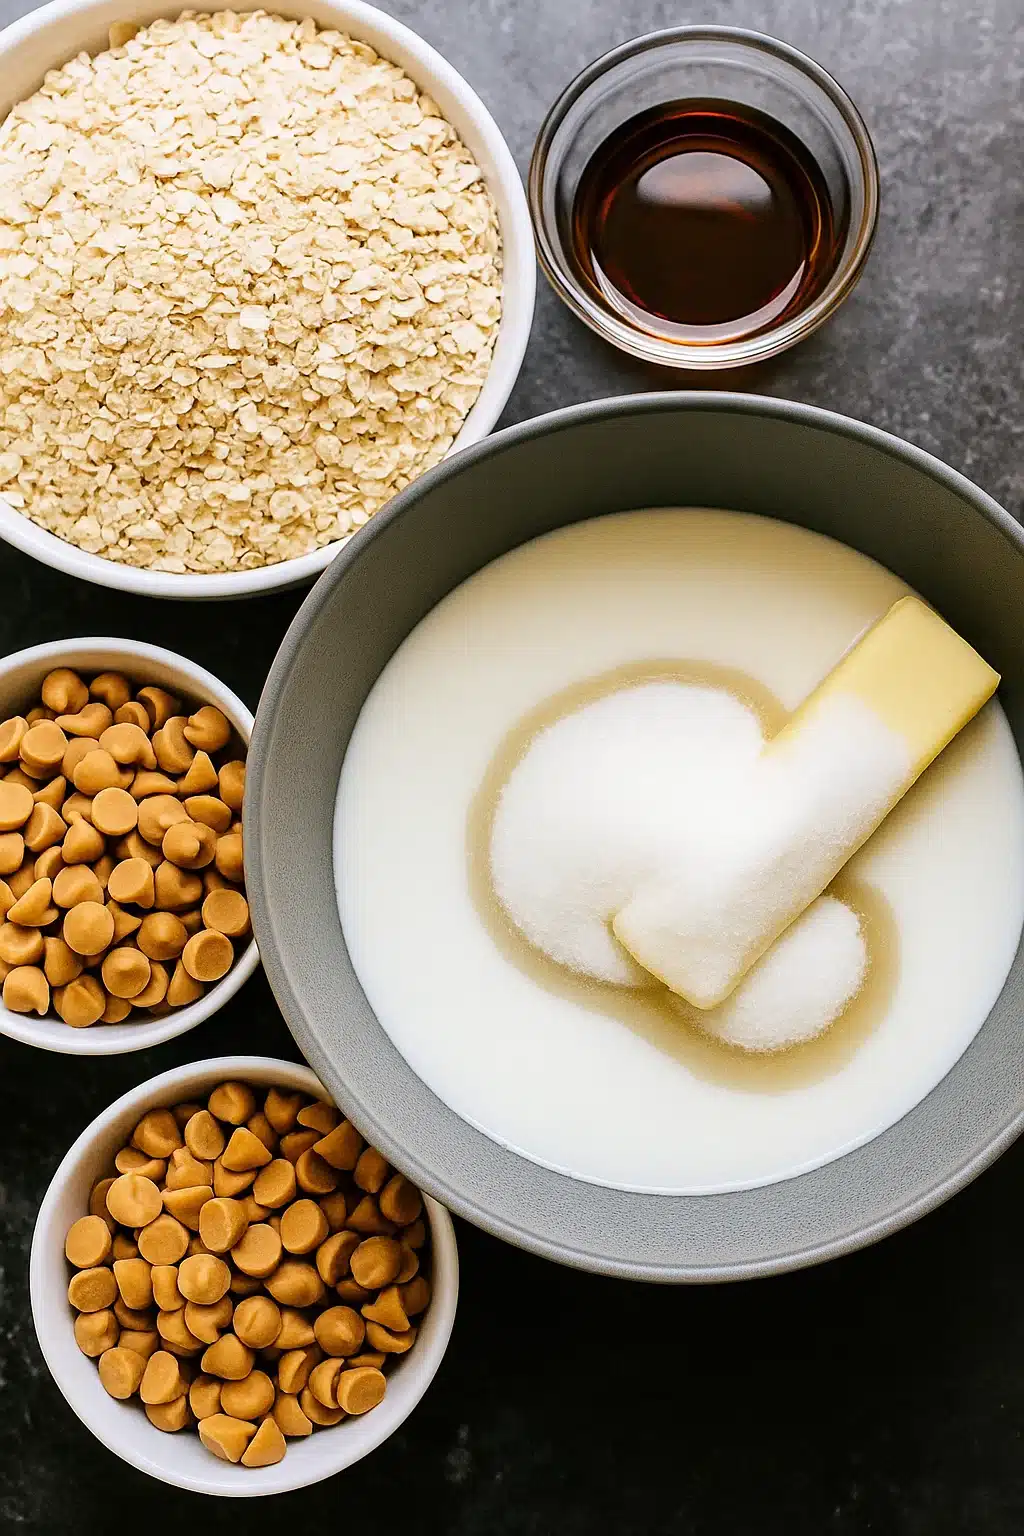
2 cups granulated sugar
1/2 cup whole milk
1/2 cup unsalted butter
1 cup butterscotch chips
DRY INGREDIENTS:
3 cups quick-cooking oats
1 teaspoon vanilla extract
1/4 teaspoon salt
Instructions
Prep your workspace: Line baking sheets with parchment paper. Measure out oats, vanilla, and salt in a large bowl and set aside.
Make the butterscotch base: In a medium saucepan, combine sugar, milk, and butter. Bring to a rolling boil over medium-high heat, stirring constantly.
Boil precisely: Once mixture reaches a full rolling boil, let it boil for exactly 60 seconds. Remove from heat immediately.
Add butterscotch: Stir in butterscotch chips until completely melted and smooth. The mixture should be glossy and caramel-colored.
Combine everything: Add vanilla and salt, then quickly fold in the oats until everything is well coated.
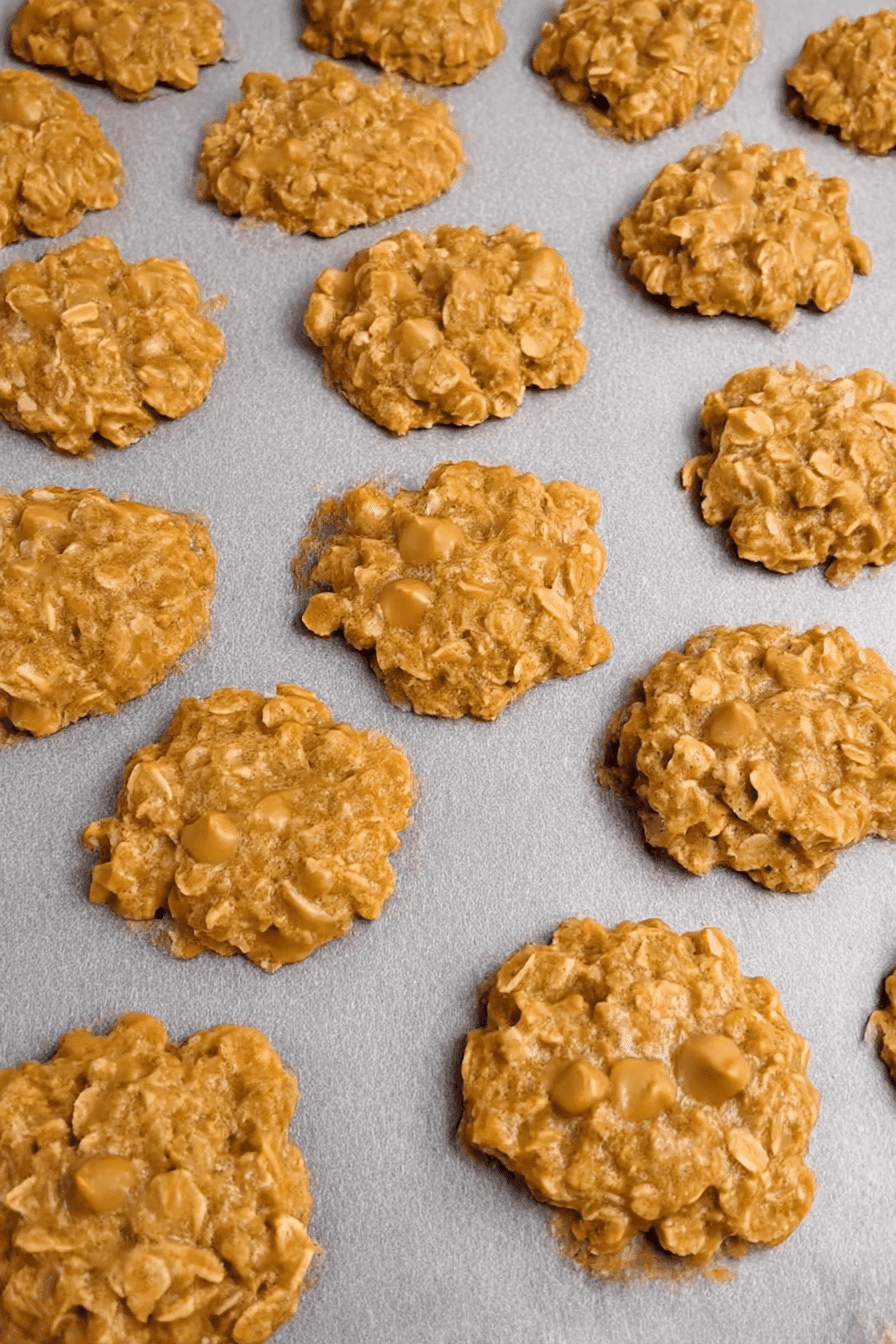
Shape cookies: Working quickly, drop mixture by rounded tablespoons onto prepared parchment paper using a cookie scoop or spoons.
Set and serve: Let cookies cool and set for 15-20 minutes at room temperature before serving.
Notes
Nutrition
My Foolproof Butterscotch Cookie Method
The Ingredients That Actually Matter
After making approximately 15 batches (okay, maybe more), I’ve learned that not all ingredients are created equal. You’ll want real butterscotch chips – I can always find these on the baking aisle, usually hanging out near their chocolate chip cousins.
I’m totally biased toward Nestlé butterscotch morsels, but honestly? Whatever brand you can find will work beautifully. For the butter, please use real butter. Not margarine, but actual butter. I learned this lesson the hard way during my broke-college-student phase when I tried to cut corners.
Equipment Secrets That Save Your Sanity
Here’s what I wish someone had told me on day one: get a candy thermometer. Think of the process more like candy-making than cookie baking, and you’ll nail it every time. You’re aiming for exactly 230°F.
Also, invest in a decent cookie scoop. These cookies set up FAST once you add the oats, so speed is your friend. I use a medium scoop (about 2 tablespoons), and it creates perfectly uniform cookies.
Step-by-Step Success (The Way That Actually Works)
Getting Your Base Right
Before you even think about turning on that burner, line your counter with parchment paper and measure out ALL your ingredients. Seriously, do this first. I cannot stress enough how quickly these cookies go from “perfect” to “oops.”
In a medium saucepan, combine sugar, milk, and butter. Bring to a rolling boil over medium-high heat, stirring constantly. The key word is “rolling” – not just sad bubbles around the edges, but a proper boil happening across the surface.
Once you hit that rolling boil, let it go for exactly 60 seconds, then remove from heat immediately.
The Magic Transformation
Add butterscotch chips and stir until completely melted and smooth. This step is absolutely mesmerizing – watch those chips disappear into glossy, caramel-colored perfection.
But here’s my secret weapon: I save about ¼ cup of chips to stir in at the very end. This creates little pockets of butterscotch goodness in each bite.
Quickly stir in vanilla, salt, and oats until everything’s coated. Using your cookie scoop, drop mixture onto parchment paper. Let cool for 15-20 minutes.
When Things Go Wrong (And How to Fix Them)
My Greatest Butterscotch Disaster
Let me tell you about the Great Butterscotch Catastrophe of last March. I was multitasking (big mistake), left the mixture boiling for three minutes instead of one, and ended up with butterscotch-flavored gravel.
But you know what? We scraped it into a pan, let it cool, and broke it into chunks. Suddenly, we had “butterscotch bark,” and it was actually amazing. Sometimes kitchen disasters become happy accidents.
The lesson? Set a timer. Always set a timer. There’s no coming back from overcooked butterscotch mixture.
Variations Worth Trying
Once you’ve mastered the basic recipe, try these twists:
- Add mini marshmallows in the last 30 seconds for butterscotch rocky road
- Stir in toasted coconut for tropical vibes
- Include chopped pecans for sophistication
- Try a pinch of sea salt before scooping
Pro Storage and Serving Tips
Storage Tricks That Actually Work
Game changer alert: these cookies actually get better after a day or two. Store them in an airtight container at room temperature, and they’ll develop incredible depth of flavor.
Here’s something I discovered by accident: they freeze beautifully. Individually wrap in plastic, toss into a gallon bag, and they’ll keep for up to a month. Honestly, they might be even better after freezing.
Making Them Party-Ready
Last minute panic? Here’s my trick when unexpected company shows up. Instead of dropping cookies onto parchment, press the mixture into a parchment-lined 8×8 pan. Twenty minutes later, cut into squares, dust with powdered sugar, and suddenly you look like you’ve been planning this elegant dessert all week.
For gift-giving, scoop the warm mixture into cupcake liners – they’ll settle into perfect circles that look totally intentional.
The Sweet Bottom Line
After countless batches and a few disasters, here’s what I know: these classic butterscotch no bake cookies aren’t just a recipe – they’re a lifeline for busy days and a crowd-pleaser for any occasion.
You don’t need fancy equipment or pastry school training. Just twenty minutes, a watchful eye on that timer, and maybe the acceptance that your first batch might not be perfect. Mine wasn’t, but my kids ate every crumbly bit.
Can’t wait to hear how yours turn out! And remember, if you end up with butterscotch soup like I did once, it makes excellent ice cream topping. Sometimes the best discoveries happen when things don’t go according to plan.
If you love these butterscotch beauties as much as I do, I’d be thrilled if you shared your no-bake adventures with our community! You can find tons more no-bake inspiration and connect with fellow no-bake enthusiasts on Pinterest where I share all my latest No Bake No Baking creations, or join our Facebook community for daily no-bake tips and behind-the-scenes kitchen moments.
Your Butterscotch Questions Answered
Can I use old-fashioned oats?
Use only quick oats for this recipe! Old-fashioned oats don’t absorb the coating well and end up undesirably chewy. Quick oats create that perfect texture we’re after.
What if I can’t find butterscotch chips?
Substitute with white chocolate chips and add a teaspoon of vanilla plus a tablespoon of brown sugar to the mixture. Different, but still delicious.
How long do these last?
In my house? About 48 hours max. But properly stored, they’ll stay fresh for a week at room temperature or a month frozen.
Can I make these dairy-free?
Absolutely! Use almond milk or another non-dairy alternative – just make sure it’s full-fat for proper setting.


1 thought on “Classic Butterscotch No Bake Cookies: 7 Secrets Nobody Tells You”